Installation
Before you begin installation, make sure you have a webserver that meets the following requirements:
- PHP >= 8.0
- MySQL 5.7+ / MariaDB 10.3+
- BCMath PHP Extension
- Ctype PHP Extension
- JSON PHP Extension
- Mbstring PHP Extension
- OpenSSL PHP Extension
- PDO PHP Extension
- Tokenizer PHP Extension
- XML PHP Extension
CarePro was built using Laravel
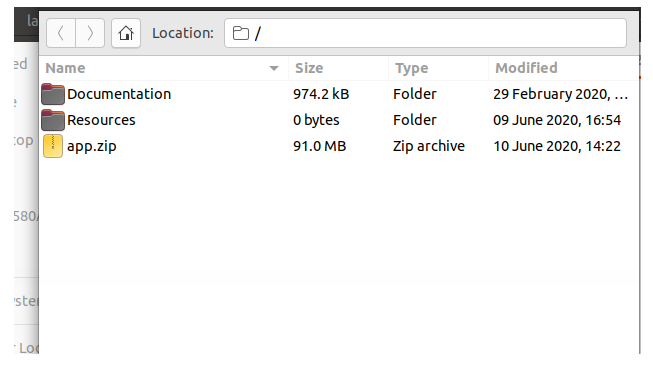
The CarePro Download consists of the following files
- Documentation (Directory)
- Resources (Directory)
- app.zip

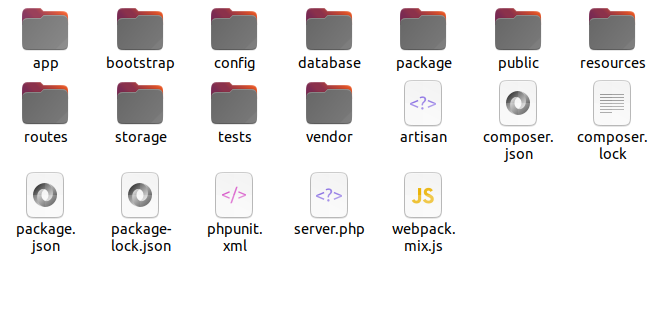
The main application's files reside in the app.zip archive. Extract this
archive to your web server. You should see the following directory
structure:

We recommend that you point your domain name to the public
directory. Your should be able to do this from your hosting's control
panel. Otherwise, you can use the .htaccess file located the the
'Resources' directory (this file might be hidden depending on your
operating system. Make sure you enable display of hidden files for that
directory). Simply upload this file to the same directory as the public
folder and then change the [YOUR_DOMAIN_NAME] placeholder to your actual
domain name
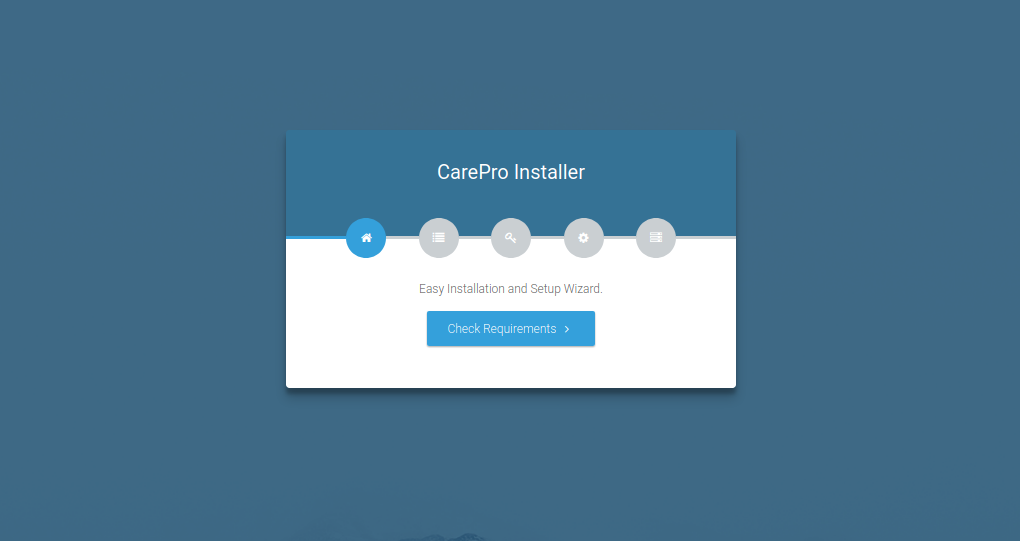
Open your web browser and enter the domain name for the
application. You should see the setup wizard open like below:

Click on the 'Check Requirements' button to start the setup wizard.

This step will check to make sure that your server meets all the system requirements for the application.
If any of the requirements report a problem, ensure that you fix it before proceeding with the
installation.
If every requirements checks out okay, click on the 'Check Permissions' button in order to proceed

This step checks to see if some folders in the application
have the right permissions. If it is reported that any
directory does not have the right permissions, make sure
that you fix it before proceeding with the next step. You should
be able to fix the permissions from the command line or from
the filemanager of your web hosting.
Next, click on the 'Configure Environment' button. This brings up the following page

Clicking on the 'Setup Wizard' button brings up the following page

The available options on this page are explained below:
- App Name: The name of the application. You can enter your company name here
- App Environment: If you are setting up for a live environment, set this to 'Production'.
- App Debug: If you are setting up for a live environment, set this to 'False'
- App Log Level: Leave this as the default
- App Url: Set the url for your application here e.g. https://mysite.com
Next, click on the 'Setup Database' button. This will lead
to the page where you will setup the database for the application.
Kindly note that, even though Laravel supports multiple database types,
CarePro has only been tested in MySQL/MariaDB and that is the database
we recommend.
Before proceeding with this step, make sure that you have
already created your database on your server and you have added a user
to the database. Ensure that you give the user ALL privileges to the
database. This will prevent errors during the database setup.

After you enter in all your database credentials, click on the 'Setup Application' button
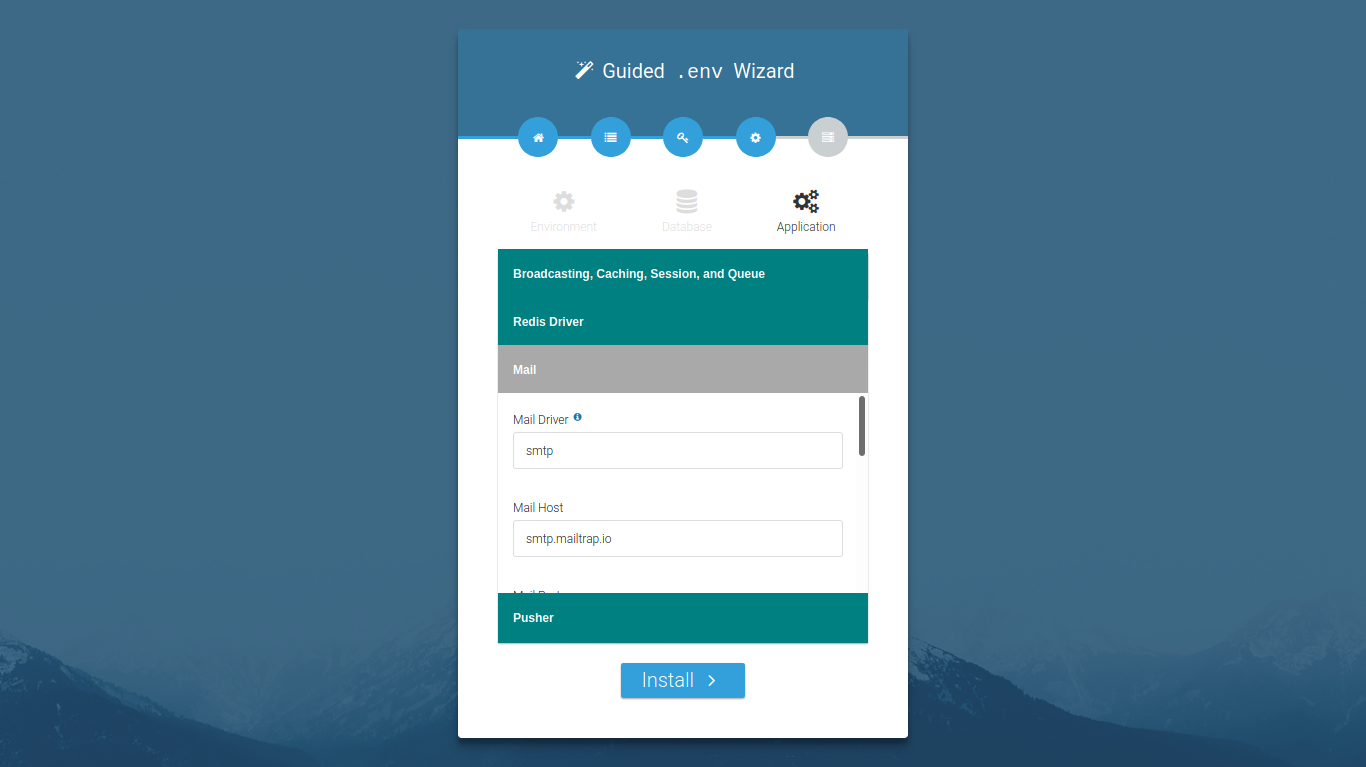
The next step presents some advanced options. The only thing you need to change in this step is the 'Mail' section
Click on the 'Mail' tab.

If you have smtp credentials for your email account, then
you can set them up here. Otherwise, change the 'Mail Driver' option to mail. This will set the application to send our email directly from PHP.
Finally, click on the 'Install' button. This will install
the application. (These operation might take a few minutes so ensure
that your server's PHP timeout value is high enough).
Once the installation is complete, you will see a page like below:

Click on the 'Click here to exit' button and you should then be directed to your homepage

SETTING UP THE TENANT DATABASE (OPTIONAL)
By default, CarePro is configured to use a single
database to hold both the Saas and Tenant tables. However, we support
using two tables,
one for the SaaS site and the other for the tenant
tables. This is the recommended approach. In order to enable this, add
the following entry
to your .env file (in the root directory):
DB_TENANT_DATABASE=[your_database_name]
The resulting env file will look similar to:
DB_CONNECTION=system
DB_HOST=127.0.0.1
DB_PORT=3306
DB_DATABASE=SAAS_DB
DB_USERNAME=
DB_PASSWORD=
DB_TENANT_DATABASE=TENANT_DB
SETTING UP THE WILDCARD SUBDOMAIN
You need to setup a wildcard subdomain (*.yourdomain.com) for your main domain in order for new tenant urls to work automatically. Please ensure your hosting supports this. Point the wildcard subdomain to the same directory as the main domain i.e the 'public' folder.
YOUR FIRST ADMIN ACCOUNT
When you install the application for the first time, a
default Admin account is created for you. The credentials for this
account are as follows:
Email: admin@email.com
Password: password
Click on the 'Login' link at the top in order to login to your admin area
