GForce comes with a powerful computer based testing feature. This feature was designed to make it easy for you to screen your members by having them take secure online examinations. Please note that only members can take tests and not employers.
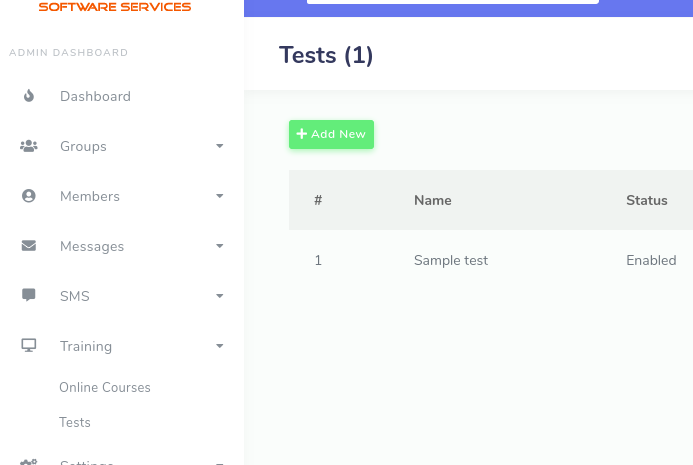
To create a test, click on the ''Training'-'Tests' link. Then click on 'Add New'
The test creation page will open as below:
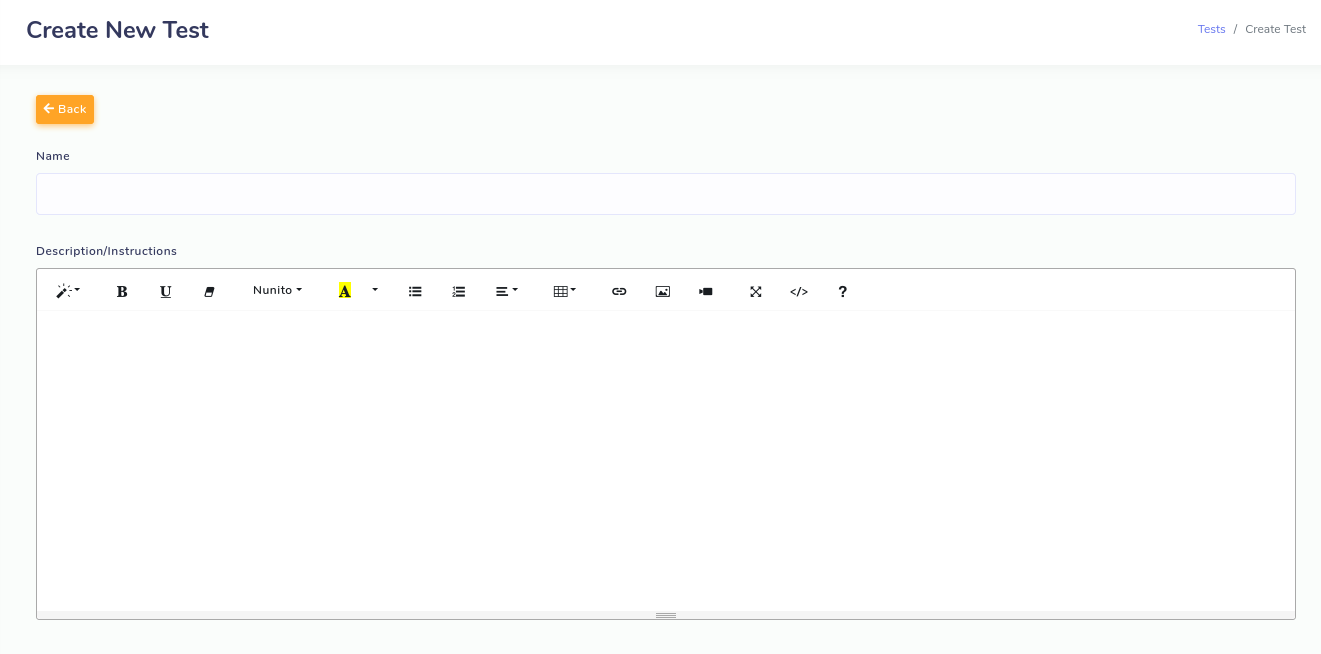
The fields on this page are explained below:
- Name: This is the name of the Test that will be visible to the member.
- Description/Instructions: This field enables you to detail what this test is about. You could add information like who the test is targeted at, the importance of the test, resources needed before attempting the test e.t.c. This information will be displayed to the member before they start the test.
- Status: This controls if members can take the test or not. If disabled, the test will not appear on the frontend and members will not be able to take it.
- Minutes Allowed: Specify how many minutes are allowed for the test. Leave blank if you do not want to restrict timing for the test.
- Passmark (%): Set the minimum score a member must have in order to pass this test. This score must be in percentage format as all tests are graded this way.
- Allow Multiple Attempts: Use this to indicate whether or not you want members to only be able to take this test multiple time. If set to 'No' then a member will only be able to have one attempt for the test. If you wish for a specific member to be able to retake a test, you will need to delete their test attempt (covered later).
- Show result after test: This determines if members can view test results and their grade after they have completed their test. If set to 'Yes' then members will be informed if they scored above the passmark or not. This however will not show members what questions they failed or passed.
Click on the 'Create' Button to add your new test. Once your test is added, your will be redirected back to the Test list page
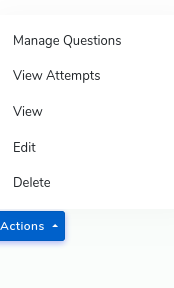
Next, you need to add questions to your test. Test are multiple choice in nature. Click on the 'Actions' option and the following options are revealed
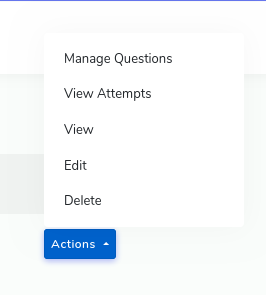
Click on the 'Manage Questions' option. This leads to the Test Question page for this test
Click on the 'Add New' button to add a question. The following page opens
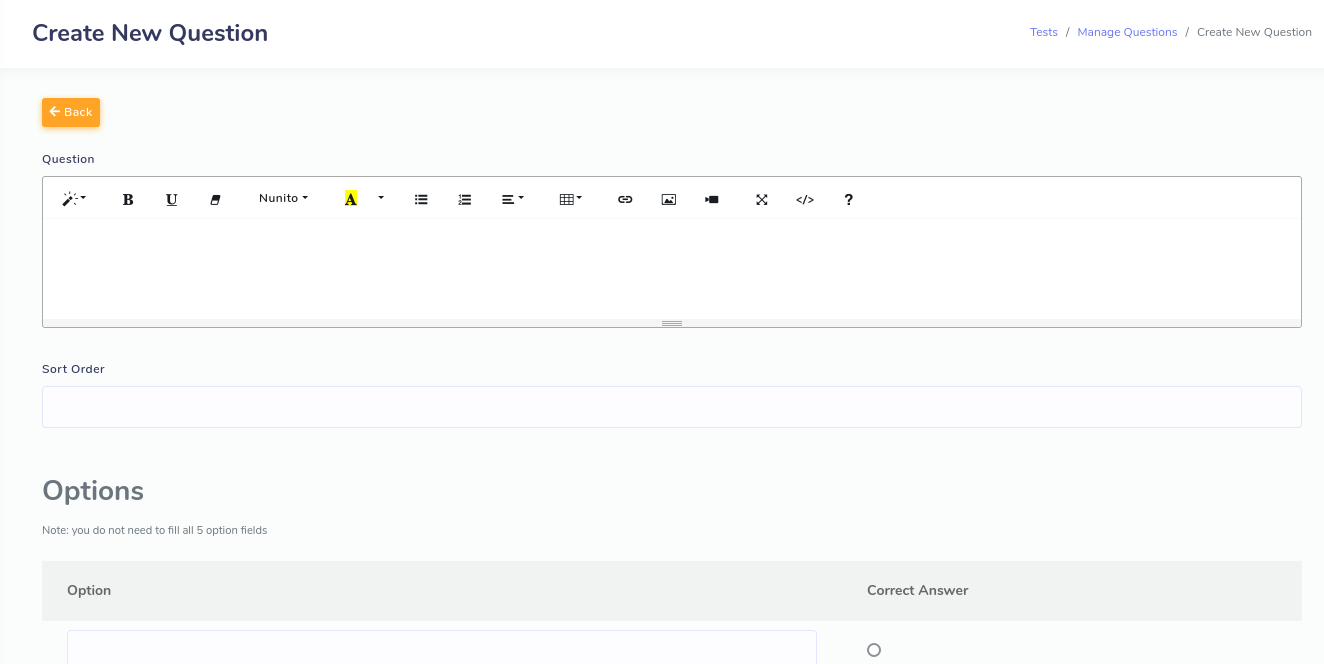
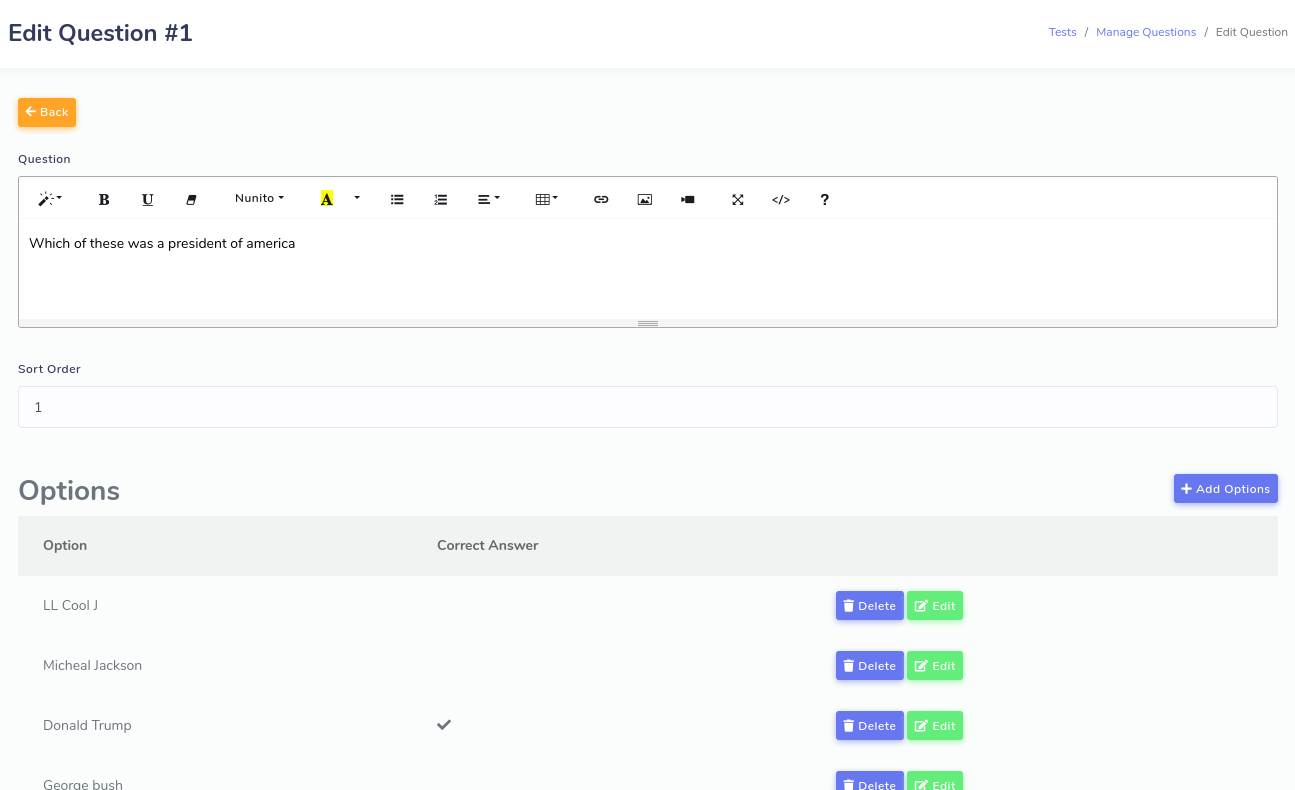
Type in the question into the 'Question' text editor.
The 'Sort Order' field determines the position of this question relative to others.
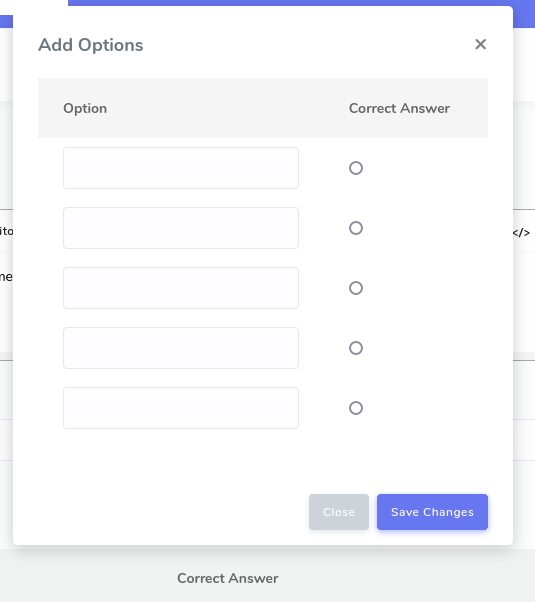
The 'Options' section is where you get to write the available options for this question that the members can choose from. By default, 5 boxes are provided which allow you to add a maximum of 5 options. Please not that you do not have to fill all 5 options. Options that don't contain any text will be ignored.
The 'Correct Answer' column allows you to specify what option out of the ones you supply is correct. It is mandatory you specify what option is correct before submitting the form.
Click on the 'Create' button to save your question.
Once saved, you can modify your question and even add more than 5 options by editing it
Clicking on the 'Edit' option of the 'Actions' button will option the question editing page as below:
You can delete an option or edit it. Click on the 'Add Options' button to add more options. A popup dialog will appear that you can supply your options to