Contracts
CarePro comes with a powerful contract management feature that helps you streamline the process of managing contracts between employers and candidates. Please note the following regarding this feature:
- Each contract is unique and is created specifically for the signing parties. A contract is only visible to admins and signatories assigned to it.
- A contract requires a minimum of one signatory and can include an unlimited number of signatories.
- Signatories can sign contracts online using the web based signature capture feature.
- Signatories are not allowed to modify contracts.
- Signatories can download PDF versions of their contracts only after signing.
- Other signatories are notified via email whenever another signatory signs the contract.
CREATING A CONTRACT
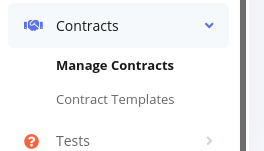
In order to create a new contract, login to the admin backend and go to 'Contracts'-'Manage Contracts'
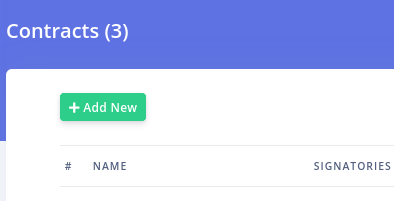
On the 'Contracts' page, click on the 'Add New' button
The contract creation page is as show below:
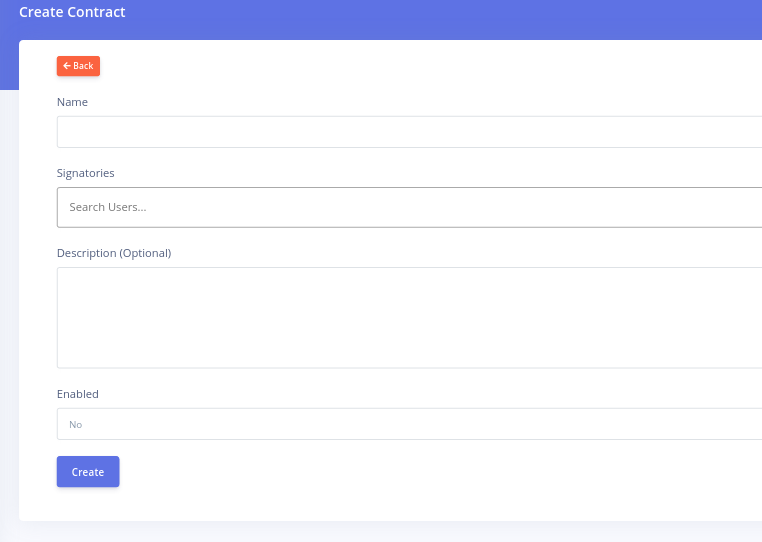
The following fields are available on this page:
- Name: The name of the contract. Ensure you give the contract a name that is descriptive of it's purpose.
- Signatories: This field lets you select the signatories to this contract. Each signatory must be an existing user on the platform. Search for users (employers or candidates) using either their name or email address. You must specify at least one signatory.
- Description: Here you can enter a brief description of the contract. This is only visible in the admin backend and in the email prompt sent to signatories.
- Enabled: This lets you set the contract as enabled or disabled. If disabled, the contract will not be visible to signatories. Usually you would want to set a contract as disabled during creation. This is because you can only set the actual contents of the contract after creation so you would not want the contract to be visible to signatories during editing.
Click on the 'Create' button to add your new contract.
After creation, you will be redirected to the 'Edit Contract' page. You should see a page like below
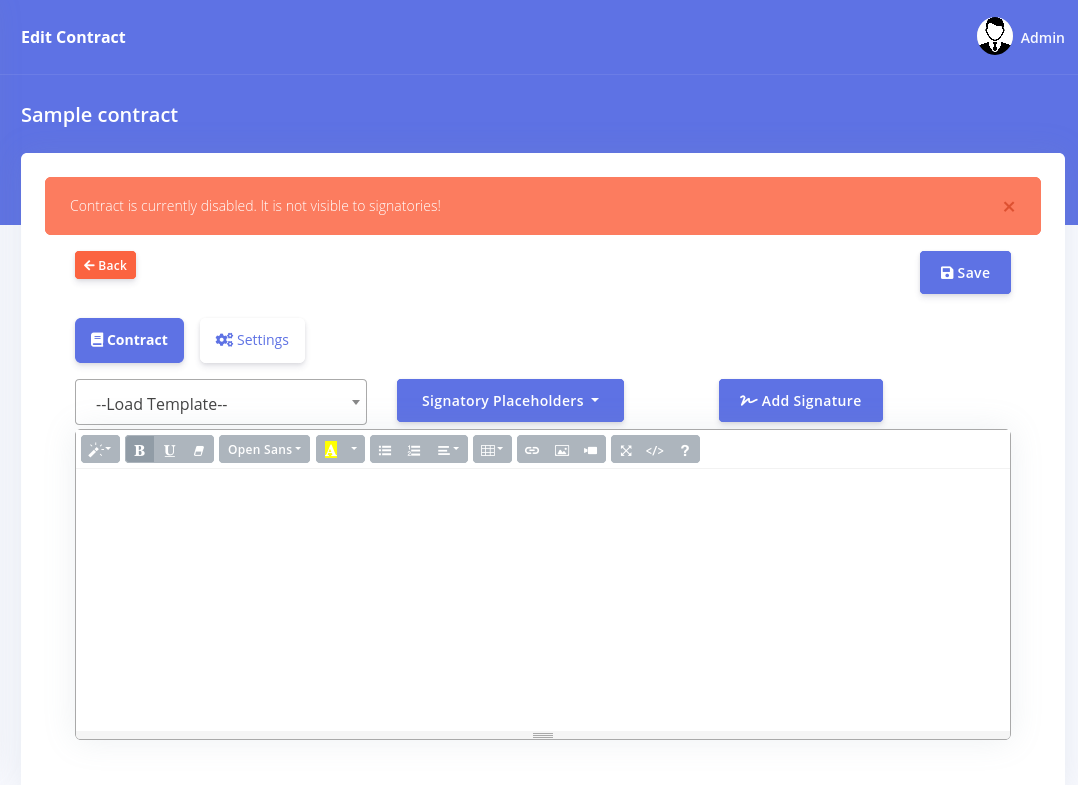
You will see two tabs on this page
- Contract: Here you get to design your new contract
- Settings: Here you can edit the details of the contract that you set during creation.
On the 'Contract' tab, you will see the text editor and some controls above it. The following controls are available
- Load Template: Here you can select an existing contract template. Contract templates enable you to create ready-made contracts that you would like to reuse. In order to create templates, go to 'Contracts'-'Manage Templates'.
- Signatory Placeholders: This drop-down lets you insert different types of placeholders for all signatories to the contract.
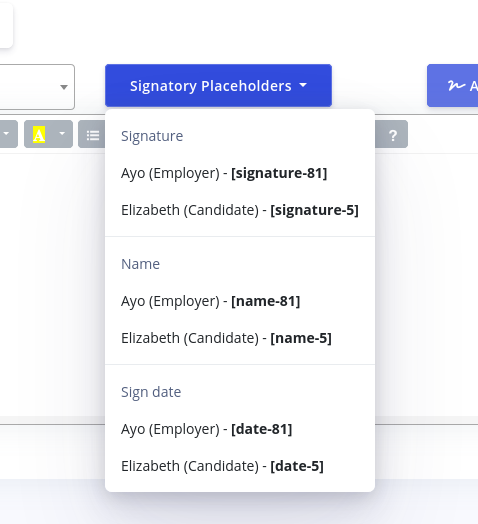
Each signatory has the following type of placeholder: Signature, Name and Sign date. Beside the signatory's name, you will see the actual placeholder that will be used for that signatory. Clicking any of the links will insert that placeholder into the contract editor. Each placeholder is described as follows:
a. Signature: This placeholder is used to specify where in the contract the signatory's signature should be placed. It will be replaced by the actual signature once signed.
b. Name: This placeholder is used to automatically place the name of the signatory into the contract. You can of course manually type in the name of the signatory so this placeholder is optional. However it is very useful as it will automatically use the name saved for the signatory and will be updated if the user's details are changed. It is especially useful when using contract templates.
c. Sign date: This placeholder is used to place the date of signing into the contract.
- Add Signature: This button loads a popup box that lets the admin manually add a signature. When clicked, the following box is displayed:
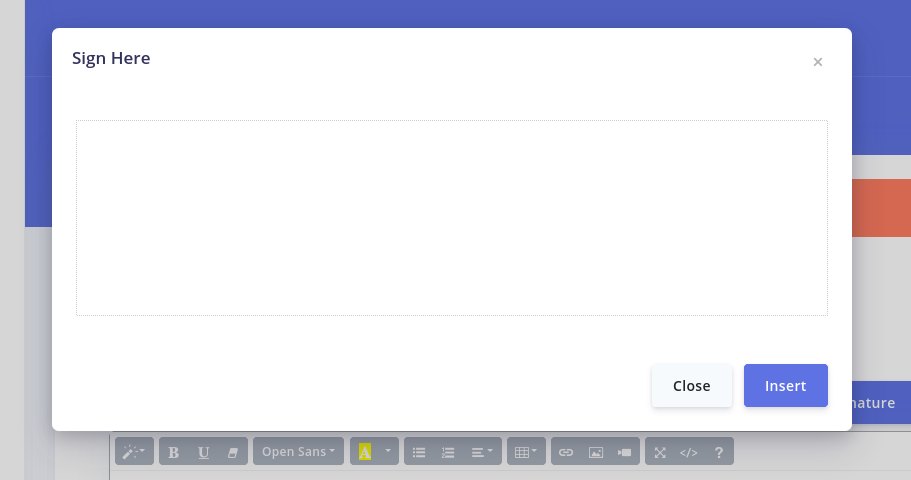
Simply draw the signature and click on the 'Insert' button. This feature is especially useful for 'witness' sections of contracts. It is also useful in cases where any signing party is physically present.
Once you have finished editing your contract and have placed all relevant placeholders, ensure that you click on the 'Settings' tab and enable your contract before saving.
MANAGING CONTRACTS
In order to manage existing contracts, click on the 'Contracts'-'Manage Contracts' menu option. This brings up a list of contracts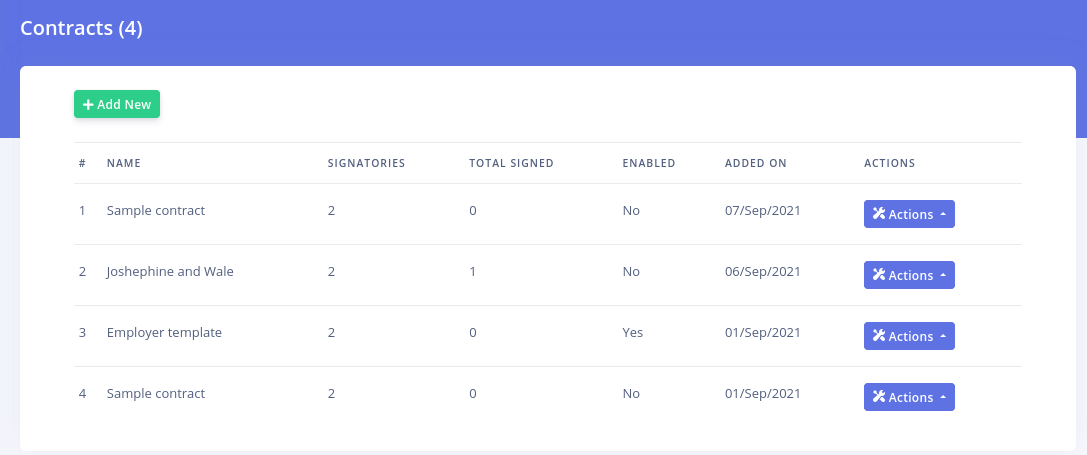
Hovering your mouse cursor above the 'Name' column will display the description of that contract. Hovering above the 'Signatories' and 'Total Signed' columns will display the names and roles of the signatories for that contract. The 'Actions' button reveals the following options:
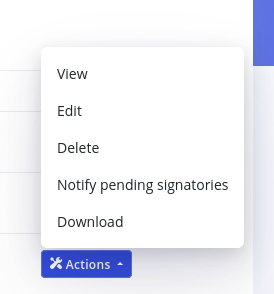
You can view, edit or delete a contract as shown. The 'Notify pending signatories' option allows you to send an email notification to all signatories that are yet to sign the contract. An automatic login URL is included in mail that takes them directly to the contract page for signing. This option is only enabled if the contract is enabled. Finally, you can download a PDF version of the contract by clicking on the 'Download' option.
FRONT END
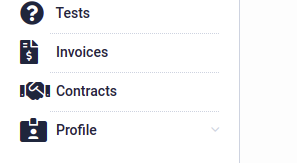
When a user (Candidate or Employer) is logged into their account, they will see a Contract option in the menu
Clicking this option leads the the Contracts page which displays all contracts (signed and unsigned) to which the user is a signatory.

If this user has not signed the contract, a button is displayed prompting the user to 'View and Sign' the contract. If the contract is already signed, a button is displayed that enables the user download the contract in PDF format.
Clicking the 'View and Sign' button leads to the following page
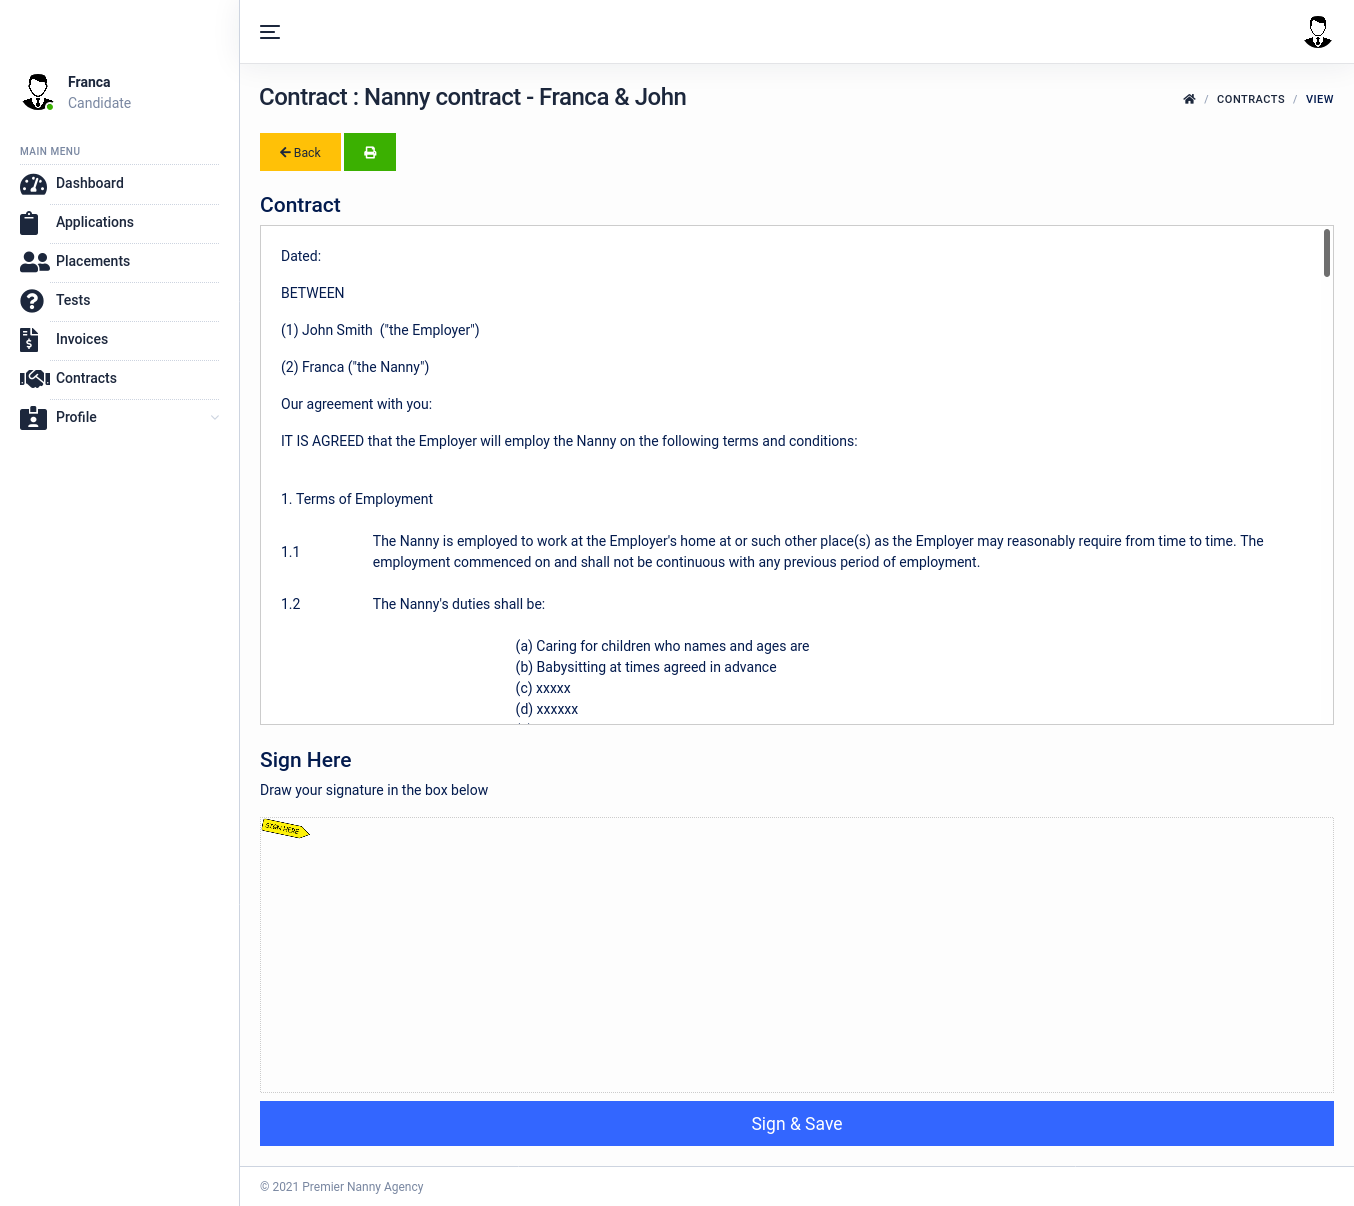
The contract is displayed as well as the box in which the user can draw their signature.