CarePro's 'Vacancies' feature is a very useful tool
for your candidate sourcing efforts. With this feature, you can post job
vacancies to your frontend and receive applications from interested
candidates.
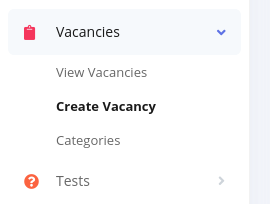
To create a new vacancy, click on the 'Create Vacancy' button
The vacancy creation page opens as shown below:
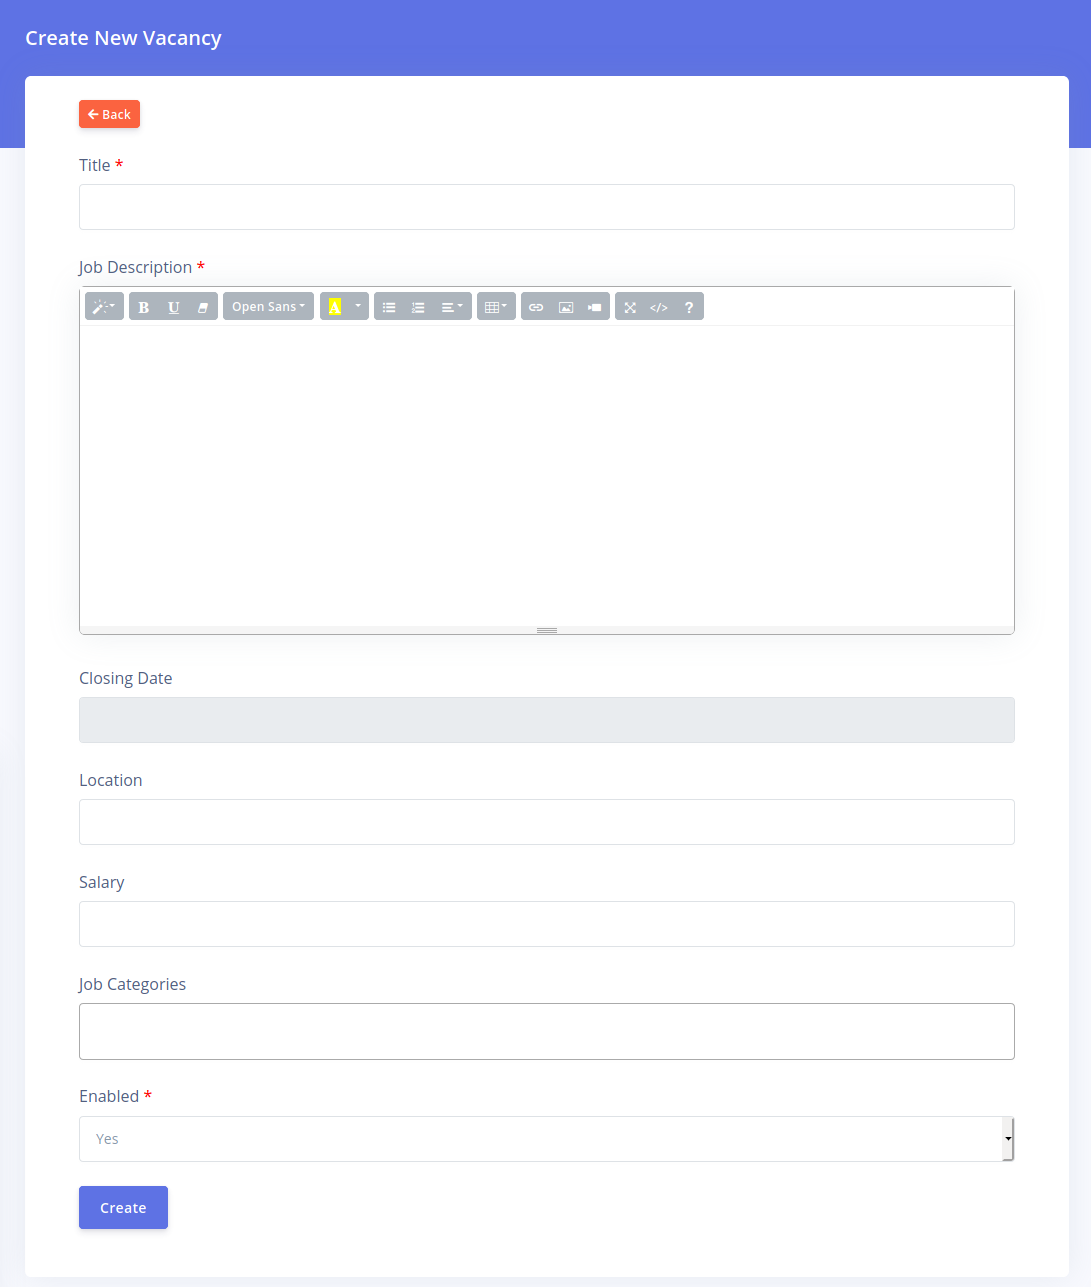
The fields on this page are describe below:
- Title: Enter a good descriptive title of the job vacancy
- Job Description: Enter the full job description in the field
- Closing Date: If the vacancy has a closing date,
set it here. Vacancies will not display on the Frontend if they are
past the set closing date. If you want the vacancy to be visible
indefinitely then leave this field blank.
- Location: Enter a the location of the Job. You
do not need to specify the full address. You can specify just the city,
town, local government area e.t.c. This helps candidates make better
decisions about their interest in the position.
- Salary: Enter in the salary being offered for this vacancy.
- Job Categories: You can specify what categories
this vacancy falls into. A vacancy can belong to more than one category.
This helps candidates sort through positions to find the ones they are
interested in.
- Enabled: Sets the status of the vacancy. If set to no, then the vacancy will not be visible on the Frontend.
Click on the 'Create' button to add your new vacancy.
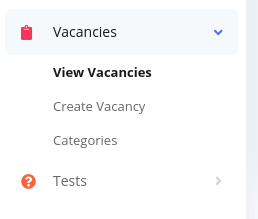
To view the list of all available vacancies, click on the 'View Vacancies' menu option
This brings up the list of all the vacancies on your portal

The buttons at the top of the list enables you to
create a new vacancy, filter the list of vacancies and reset the list
respectively.
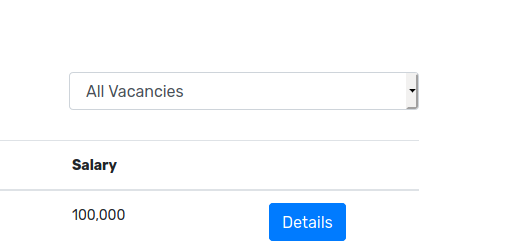
Clicking on the 'Filter' button reveals options for filtering the vacancies based on different factors:
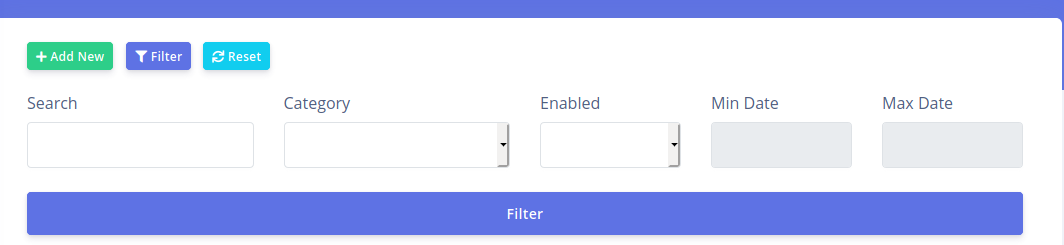
You can search for vacancies based on title and
description, you can filter based on vacancy category, you can filter
based on enabled status or you can filter based on the creation date of
the vacancy.
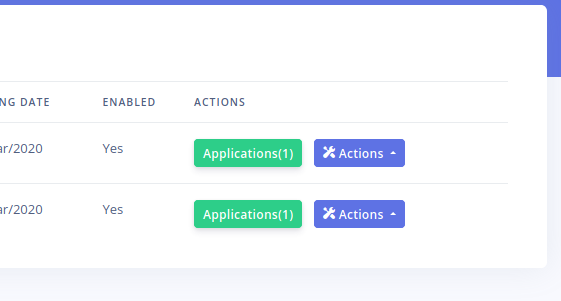
The 'Applications' column displays the total number of applications that have been submitted for that vacancy.
Each vacancy record has two buttons: 'Applications'
and 'Actions'. Clicking the 'Applications' button will open the page
that displays all applications submitted for this vacancy. The 'Actions'
button reveals options for viewing, editing and deleting a vacancy.
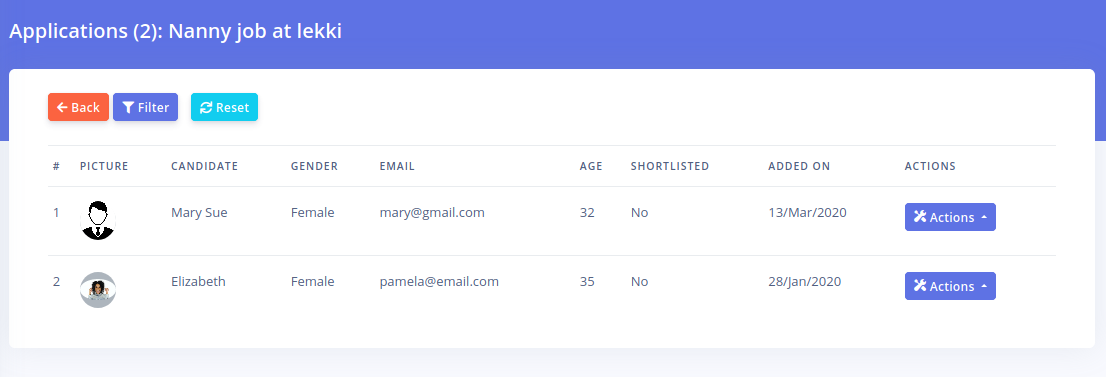
To view all applications that have been submitted for a vacancy, click on the 'Applications' button for the vacancy:
This button also shows you the total number of applications that have been submitted for the vacancy.
Clicking the button opens the applications listing like shown below:
The filter button above the application listing page
allows you filter the applications based on different factors. Clicking
it reveals the following panel:
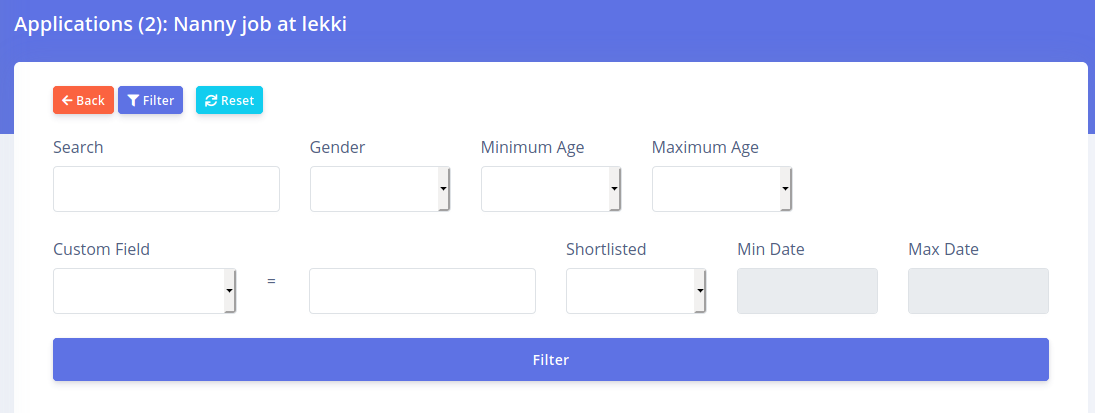
You can filter applications by
- Search: Search for a specific application using name or email
- Gender: Filter by applicant Gender
- Minimum Age: Set the minimum of the applicants you would like to view
- Maximum Age: Set the maximum age to the applicants you would like to view
- Custom Field: This allows you to search through
any candidate profile fields you have created previously. For example
you could create a profile field called 'Religion' and enter in the
expected result here. This will search for only applicants matching the
religion you specify here.
- Shortlisted: You can shortlist applicants for a
position. This is an easy way to mark applicants that have strong
prospects for the position. This dropdown enables you display only
shortlisted candidates
- Min & Max Dates: These data selector fields
will enable you filter applications that were submitted within a
specific time period. This is especially useful if you have a long
running vacancy listing or a listing with no closing date.
The 'Actions' button for each application listing presents the following options
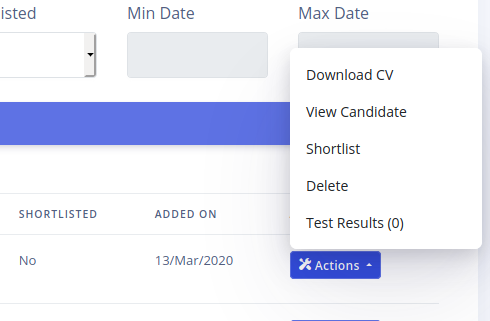
Each option is described below:
- Download CV: This downloads the CV uploaded by
the candidate. This CV will be in the same format submitted by the
candidate so it can be a PDF, Word document etc.
- View Candidate: This enables you to view the candidate's profile.
- Shortlist: Use this to shortlist the candidate.
If the candidate is already shortlisted, the link will change to 'Remove
from shortlist' and will enable you remove the candidate from the
shortlist.
- Delete: This removes the candidate's application. Note that this does not delete the candidate's account on the portal.
- Test Results: Use this to view all tests the
candidate has taken. The number in brackets shows how many tests (if
any) the candidate has taken already.
Vacancies can be assigned to categories. Categories
help you sort out your vacancies and make it easier for candidates to
find the job they are interested in.
You can create as many categories as you want.
To manage your vacancy categories, go to 'Vacancies'-'Categories'
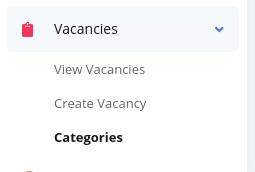
The list that displays will appear as below
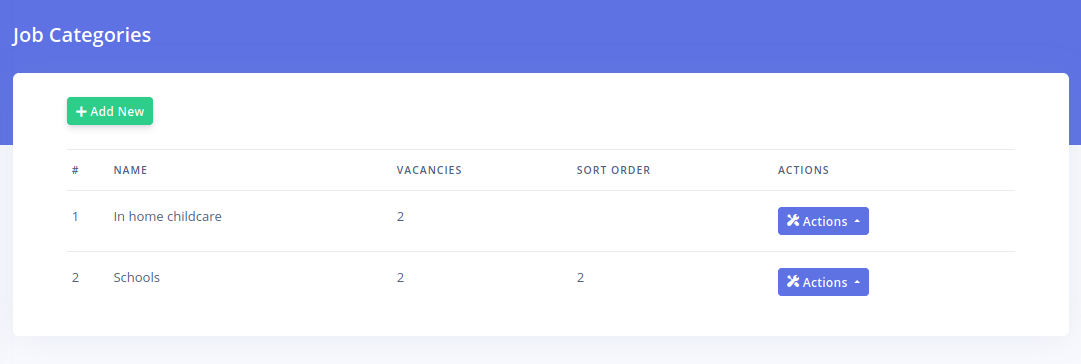
You see the total count of vacancies that have been assigned to the category.
Also note that a vacancy can be assigned to more than one category.
The 'Actions' button gives you options to view, edit
and delete the category. Please note that deleting a category does not
delete the vacancies that have been assigned to it.
Click on the 'Add New' button to create your category.
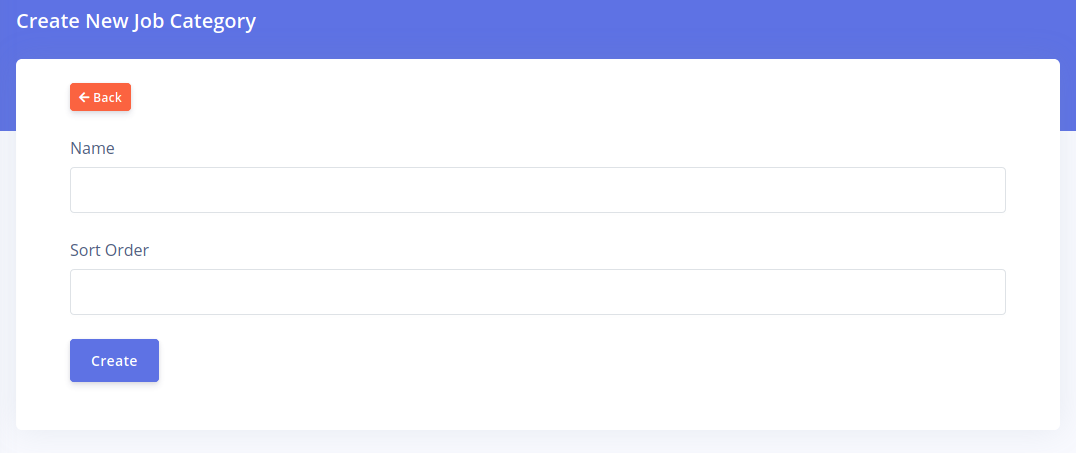
The name field reveals the name of the category. The
Sort order field controls the order of display of the category relative
to others in the drop-down menu on the job listing page on the Frontend