Managing Courses
GForce ships with an integrated learning management system. With this feature, you can easily create courses to train your members.
To get started creating and managing courses, login to the admin area and click on the "Training" menu option, and next click "Online Courses"
The online courses page displays all your available courses. The filter button on this page allows you to filter your courses by different criteria.
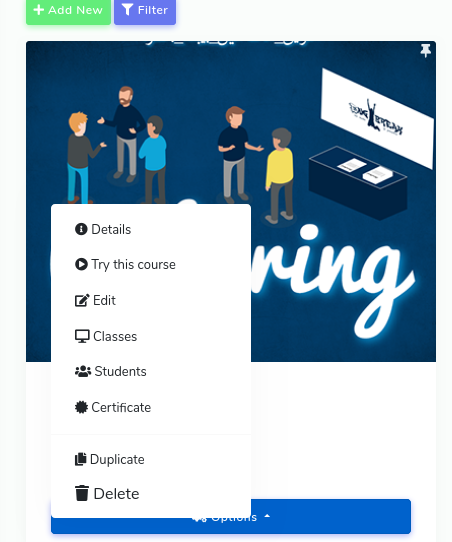
Each course listed on this page has a button that presents different options.
The 'Details' option allows you to view information about the course. 'Try this course' allows you to take the course without being enrolled in it. The 'Edit' button allows you to make changes to your course. The classes option allows you to manage all your course classes. The 'Students' option allows you to manage the students that are enrolled in your course. You can also add new students here. The 'Certificate' option allows you to manage the certificate issued to your students when they complete your course. The 'Duplicate' button allows you to make a replica of the course. However, when you duplicate a course, the enrolled students are not transferred. Finally, the delete button allows you to delete a course completely.
To create a new course the add new button at the top
This page has several tabs that enable you to add different types of information for your course
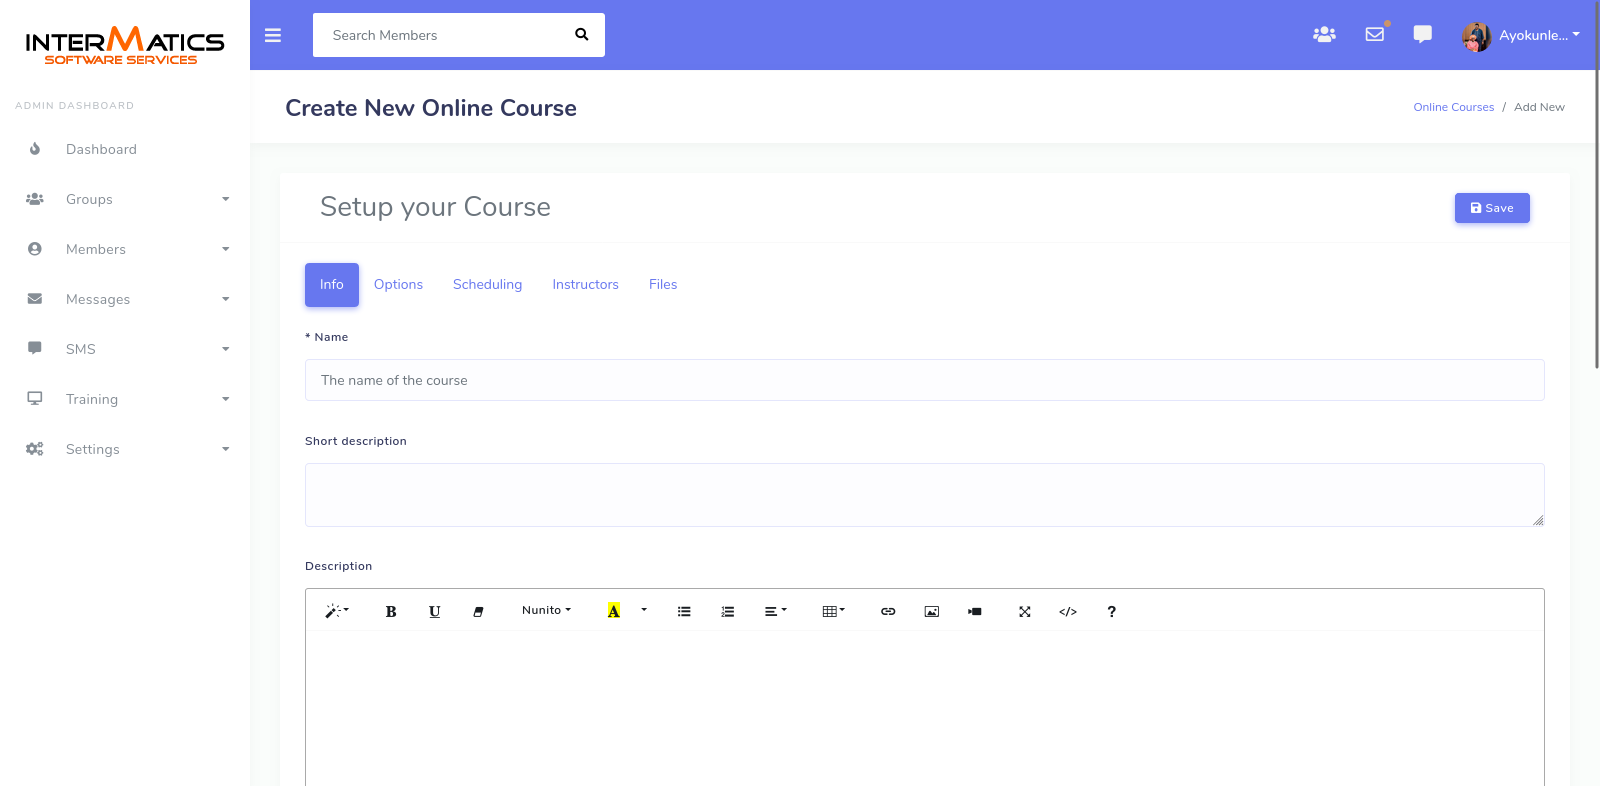
INFO
The name field is where you put the name of your course.
The short description is meant to contain a summary of the course description
The description box is where you put all the information you would like your prospective students to know about your course
The introduction field is where you put a general introduction that enrolled students will see. They will see this when they start a course for the first time.
The cover image contains the main graphic for the course to be displayed in the course gallery and information pages.
OPTIONS
The options tab contains several options for the course
Effort: The effort is simply text that you will put in to specify how much effort students should expect to put to complete this course
Length: In the length field, you specify how long you expect this course to take for a student
Categories: The categories drop-down allows you to group your courses into different categories. Please note that you need to have already created these categories. In order to create categories, click on the 'Course Categories' menu option under 'Training'.
Tests: In this field, you can specify the tests that students must complete before they can be certified for this course. Students will not be able to download certificates for the course unless they complete and pass all these tests.
Status: Disabling a course will make it unavailable to all (including enrolled) students
Visibility: This open allows you to specify if you want the course to be available to all users or only to members of selected groups.
Enforce Capacity: The capacity of a course is the maximum number of students that can enroll in it. If enabled, the system will automatically prevent new students from enrolling once the capacity is reached
SCHEDULING
Start Date: If you select a start date, the course will only be available to students after this date. However, this will not prevent students from enrolling
End Date: If you select an end date, this course will not be available to all (including enrolled) students after this date
Enrollment Closes: If you set this date, the course will not be available to new students after this date. Existing students will still be able to take the course
INSTRUCTORS
This dropdown allows you to list admins who are instructors for this course. These instructors will be listed in the course details page.
FILES
Here you can upload files that enrolled students will be able to download. Use this to attach course materials.
MANAGING CLASSES AND LECTURES
Each course is made up of different classes. Each class can contain an unlimited number of lectures. Each lecture holds content such as text, video, quizzes, etc.
To manage classes for a course, on the course listing page, click on the 'Options' button for that course. Next, click on the 'Classes' option
On the classes page, you will see a list of all classes for the course
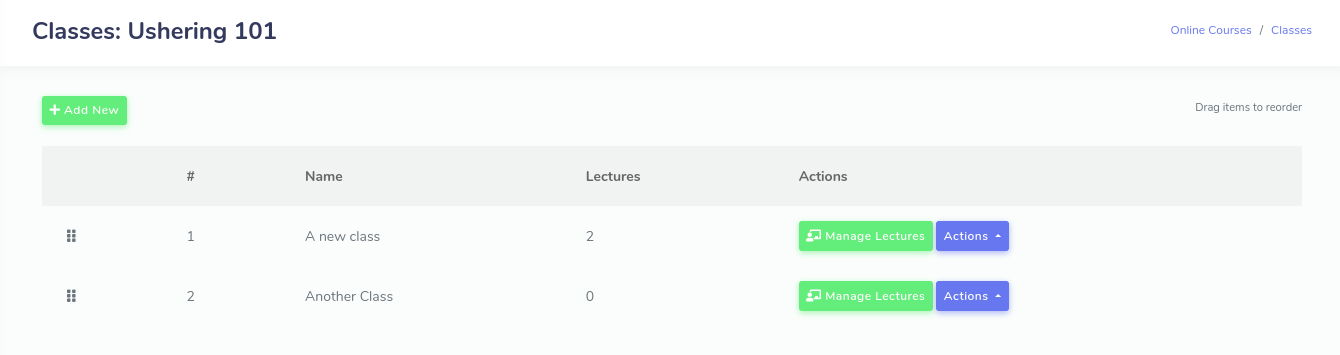
Click on 'Add New' in order to create a new class. You can drag and drop classes in order to specify the order in which students will take them. Classes will be taken according to the order they are arranged i.e the first on the list will be the first taken.
Click on 'Manage Lectures' in order to manage the lectures for a class. 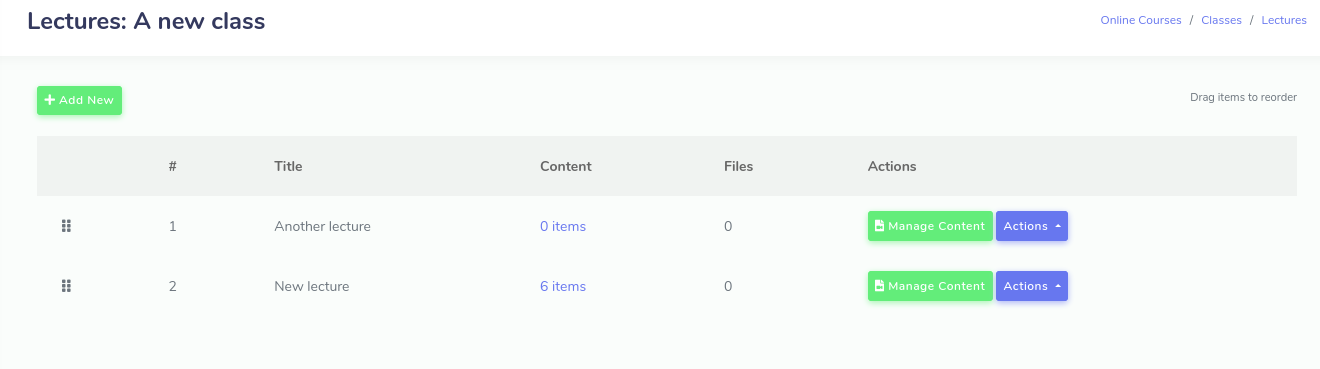
You can also drag and drop lectures in order to control their order of display and presentation to students.
Click on 'Add New' to create a new lecture. Click on 'Manage Content' in order to add items to the lecture such as video, text, images etc.
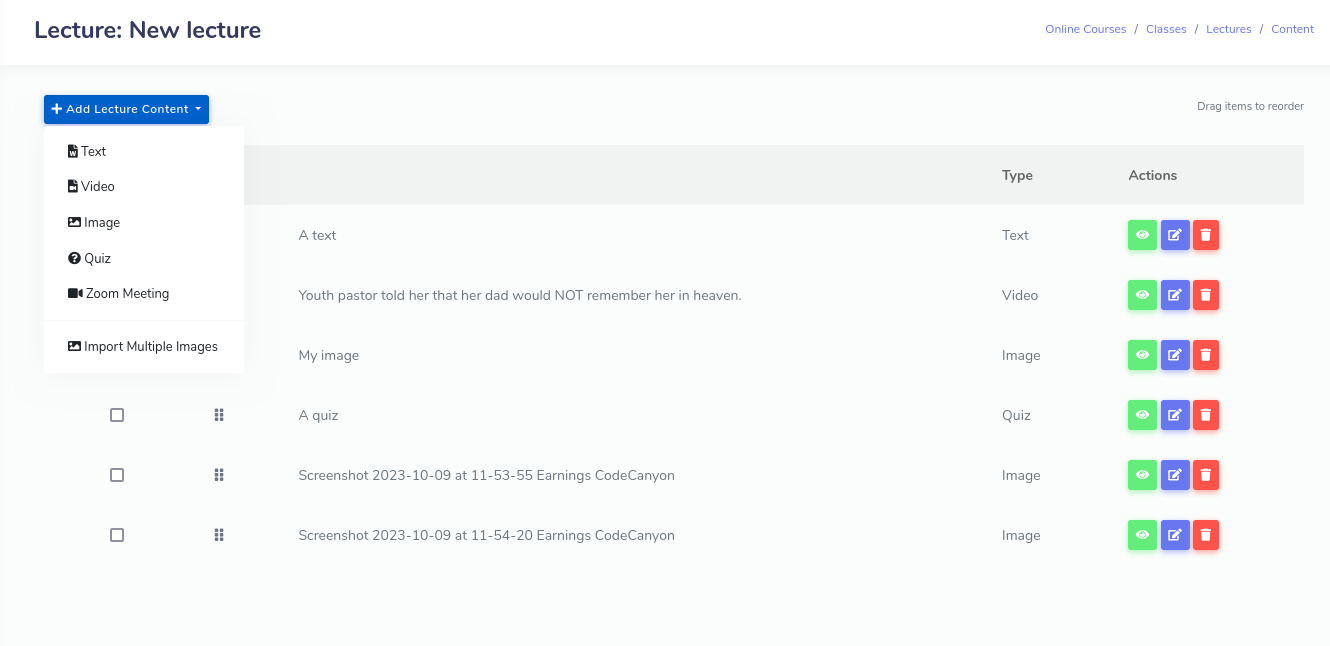
On the lecture content page, you can add new items by clicking on the 'Add Lecture Content' dropdown item.
You can also drag and drop items here in order to control their order of display and presentation to students.