Roster
GForce comes with a powerful roster system. This
Feature is very useful for managing volunteer activities and tasks for
upcoming volunteer services and other events.
This interface is only available when a user is logged into a department.
The menu options for the roster feature appear as below:

How it works
The roster is made up of Events.Each event can have multiple
shifts. Each shift can have multiple members assigned to it. And, for
each shift a member is assigned to, you can specify the
tasks/responsibilities the users is expected to carry out.
Viewing the Roster
Clicking on the 'View Roster' menu option displays all the upcoming events.
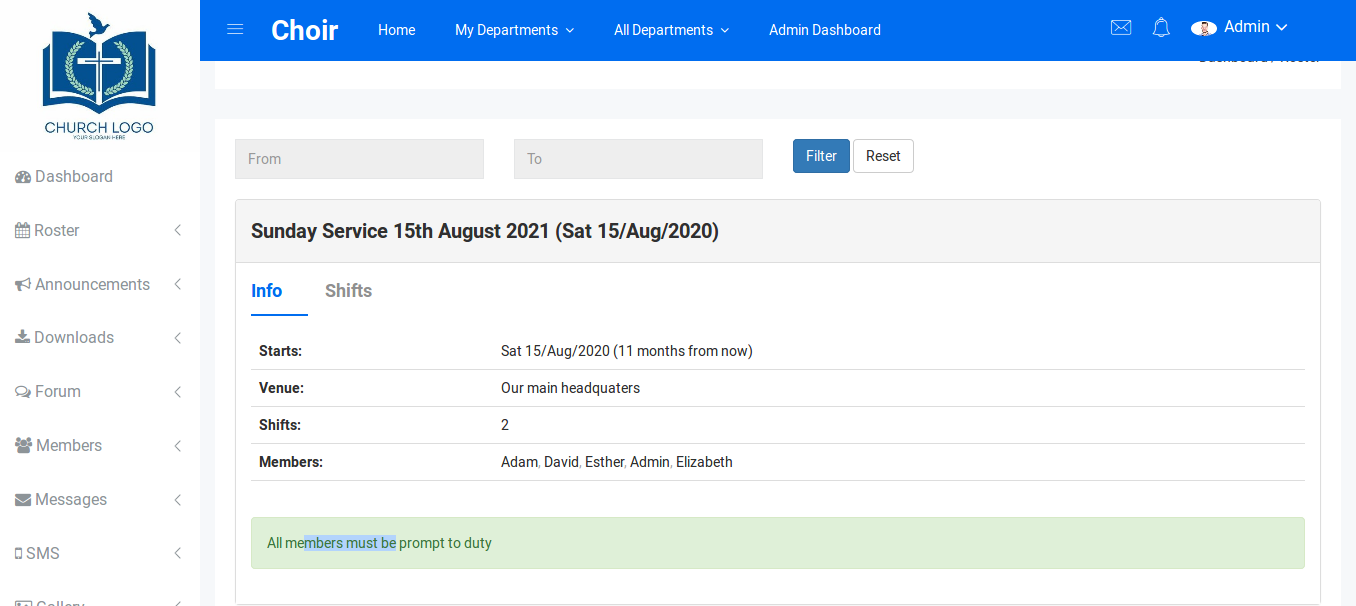
By default, only events that are in the future are
displayed. If you wish to view past events, you can use the 'From' and
'To' date selectors
to select events based on a date range.
For each Event, Clicking on the 'Info' tab displays the
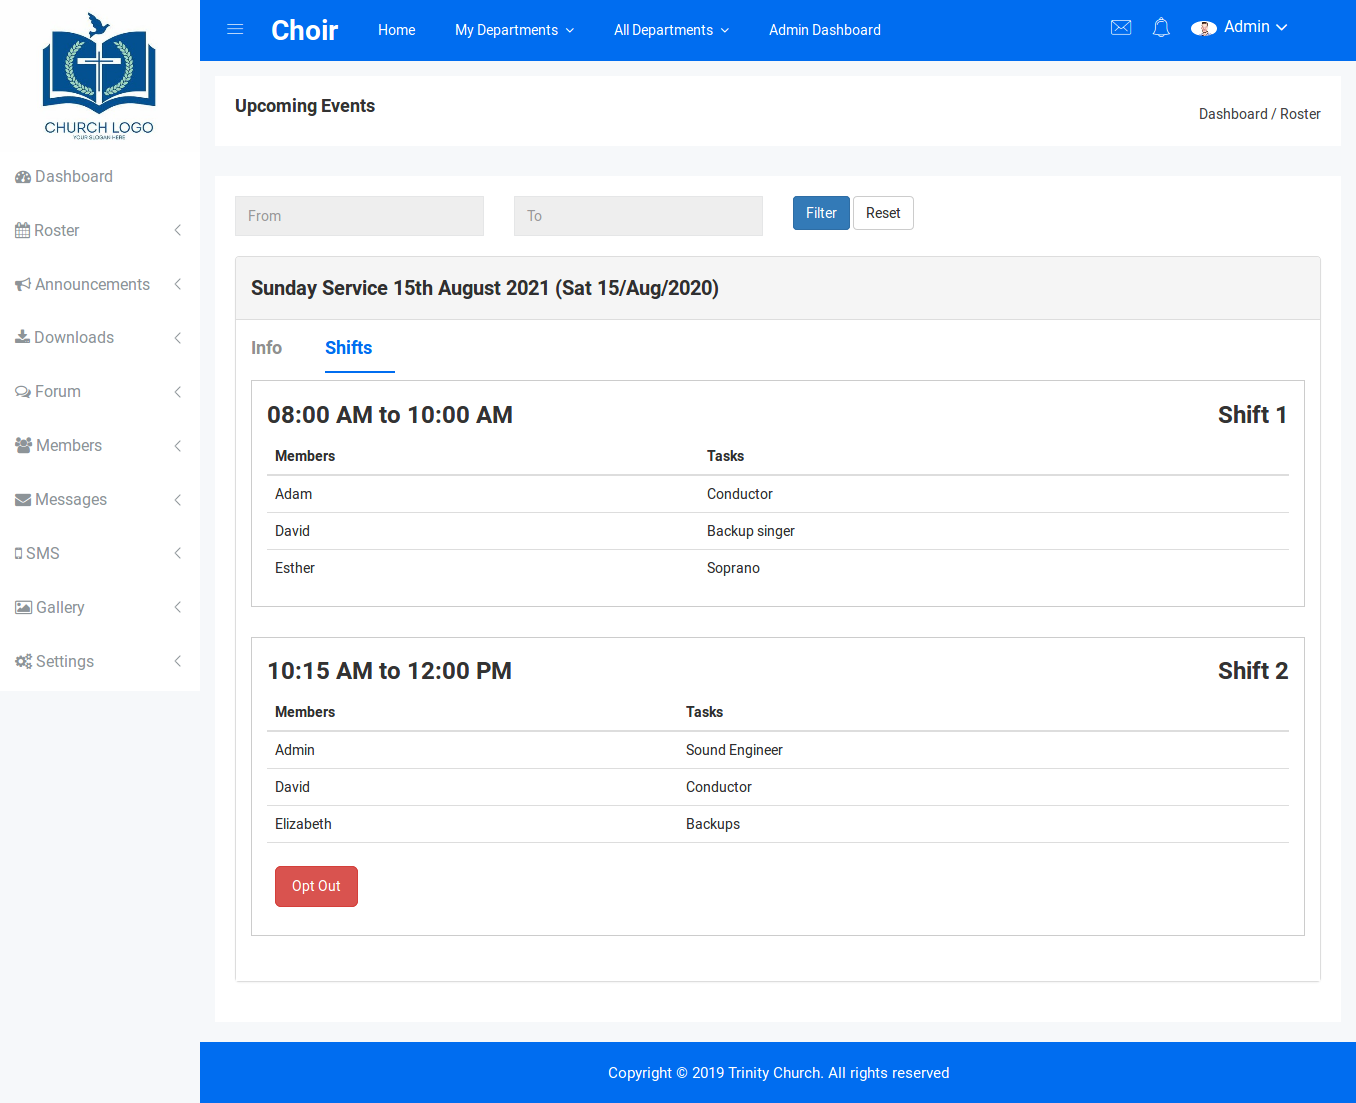
basic information about the event. Clicking on the 'Shifts' button
however displays all the shifts for that event including the members
assigned and their tasks.
Opting out
A member can choose to opt out of a particular shift. If the
currently logged in user has been added to a shift of an event, the red
'Opt Out' button will appear

Clicking the button will produce a pop up that prompts the user to provide a reason for opting out.
Managing Events
Only department administrators can create or manage
events and associated shifts. To create new events and manage existing
ones, click on the 'Manage Events' menu option.
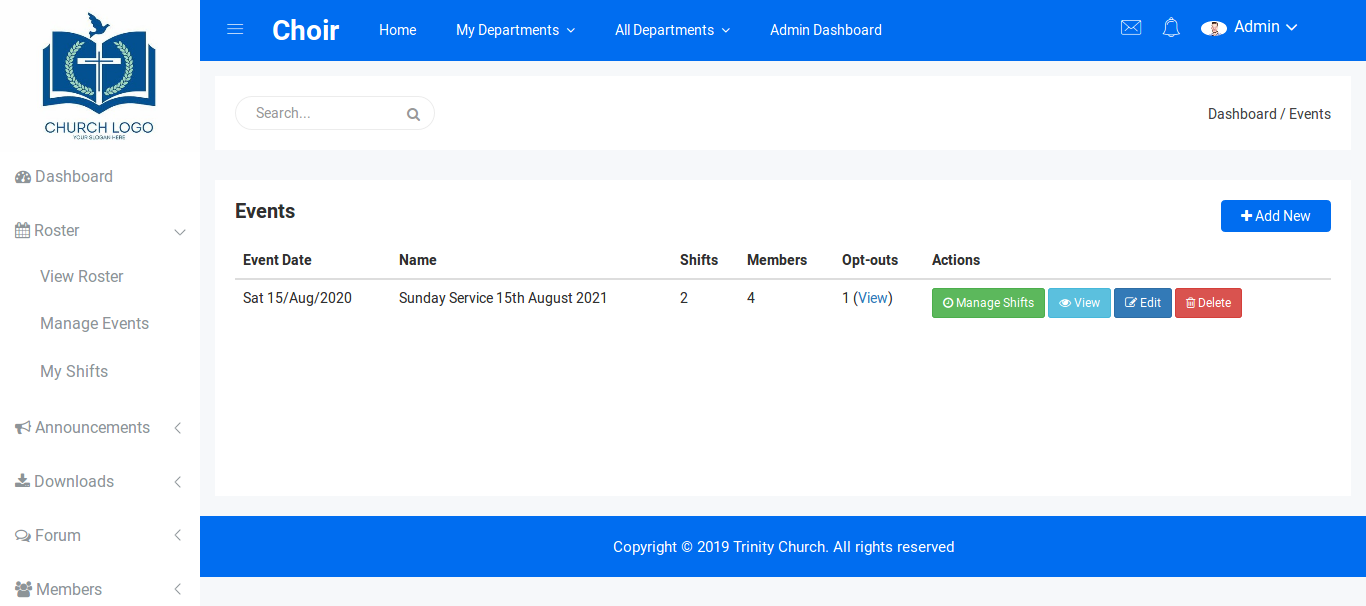
This pages lists all events in descending date order.
Hence the most furthest event is displayed first. The list shows the
name of the event,
How many shifts have been created for it, to total
number of members (across all shifts) that have been added to the event
and the total number of opt-outs
for all the shifts in the event. If opt-outs exists for
an event, you will see a 'View' link under the opt-outs column. Clicking
this link
brings up a pop-up that displays all the members that
opted out and the reasons they gave.
To create a new event, click on the 'Add New' button.
You can specify the event name, Select a date, a venue and description.
After you save the event, you will be directed to the
page to create the first shift for the event.After that shift is
created, you can add as many more as needed.
Assigning Tasks
When you create a shift, you can select members that
will be added to the shift. However, to specify the tasks for each
member in that shift, you need to go to the
shift list page (for that event) and click on the green
'Manage Tasks' button
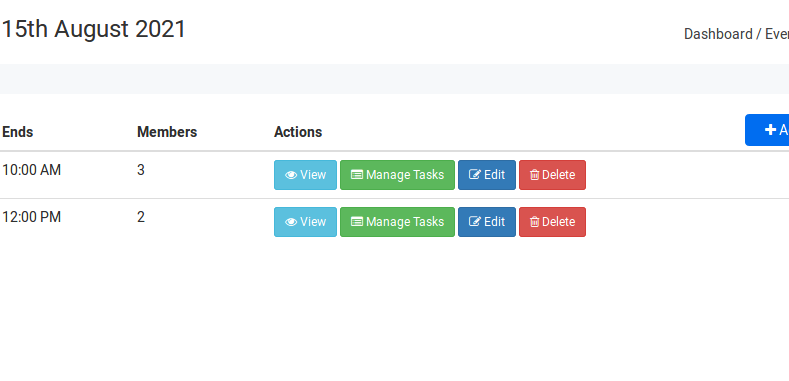
On this page, you can type in the tasks for each member in the Text box for each member and then click on 'Save'

Viewing your Shifts
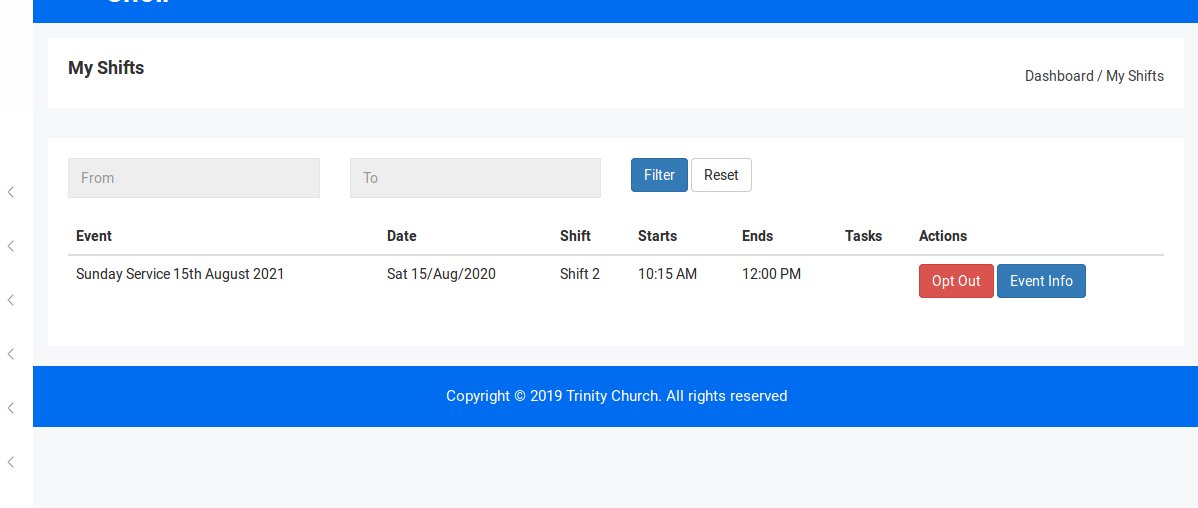
The 'My Shifts' menu option allows a user to view all their upcoming shifts.
Users can Opt out on this page or view the event info
Shift Reminders
The system automatically sends out email reminders to
members who have shifts coming up withing the next 3 days. For this
feature to work however,
a cron job must be configures. Please see the Setting Up Notifications section on how to set that up.
