Managing Users
TalentScreen supports three different types of users:
- Administrators: these are users who can log into the admin section and set up and manage the entire system
- Employers: these are users who can create assessments. And they are also users that can subscribe to subscription plans.
- Candidates: these are users who can take assessments.
All user accounts can be managed from the Users menu option in the admin area.
Managing Employers
To get started managing employers, click on the Employers menu option under the Users menu option. This will display a list of all current employers on the system.
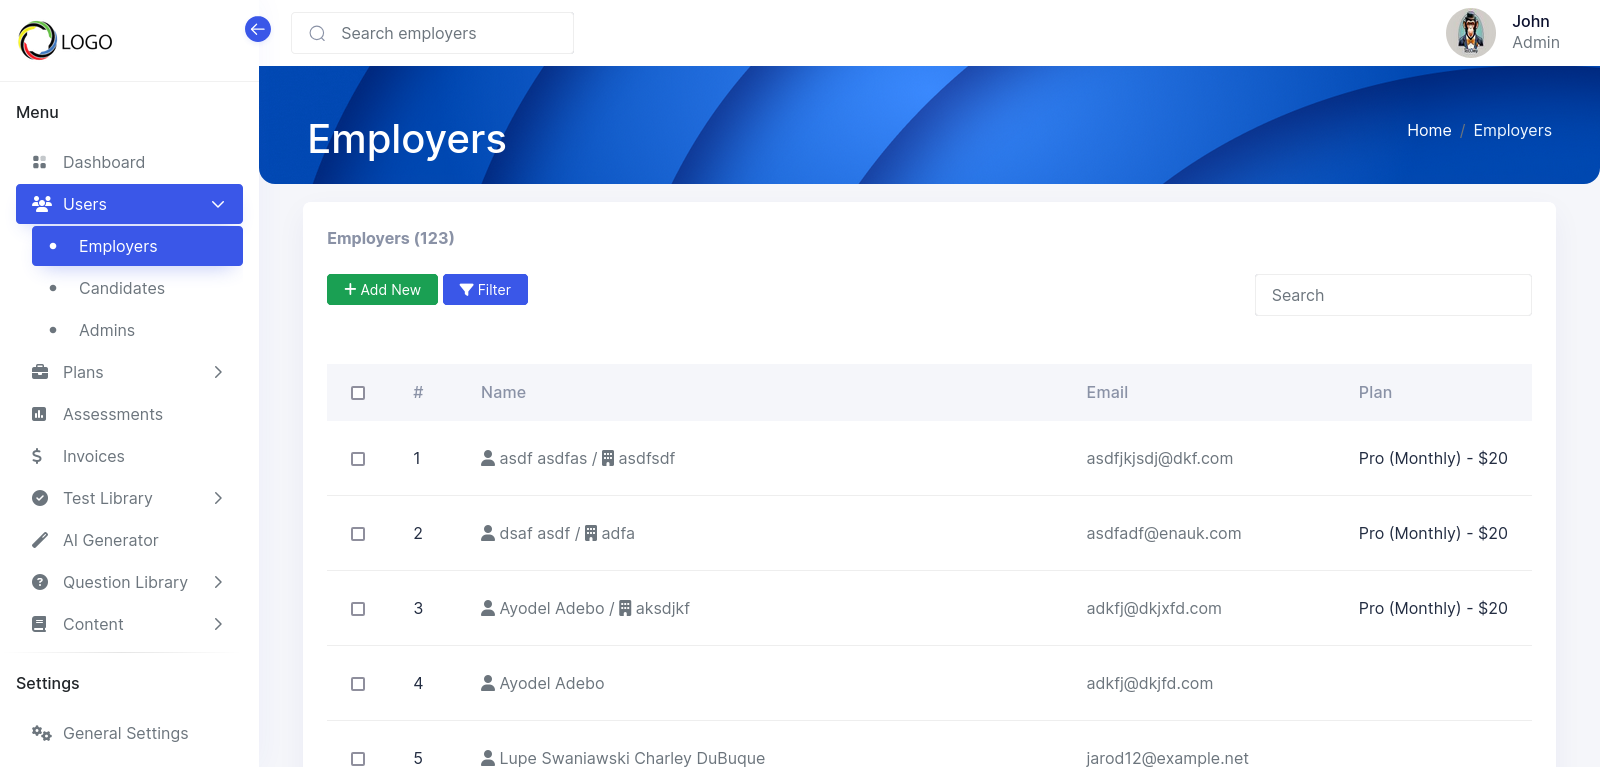
This list will display the name of the employer and their company, their registered email, and the current plan they are on as well as the date of the expiration. Click on the 'Add new' button to create a new employer.
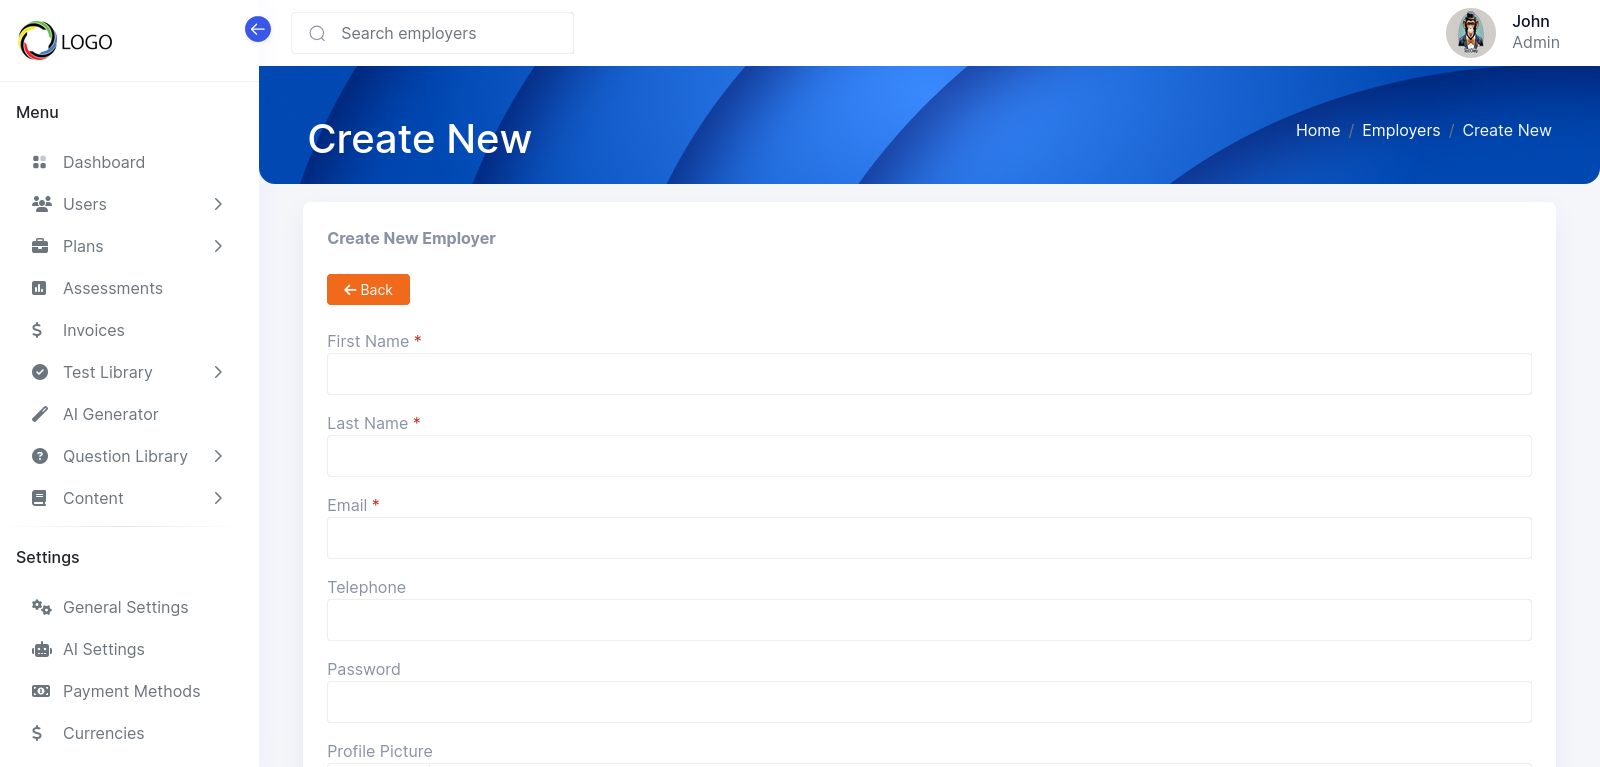
Fill in all the mandatory fields to create a new employer. You can also set the subscription plan for the employer as well as the expiration date. If you leave the notify user checkbox selected then the user will receive an email with their login credentials.
To edit an existing employer, from the employer listing, click on the edit button from the dropdown beside that employer.
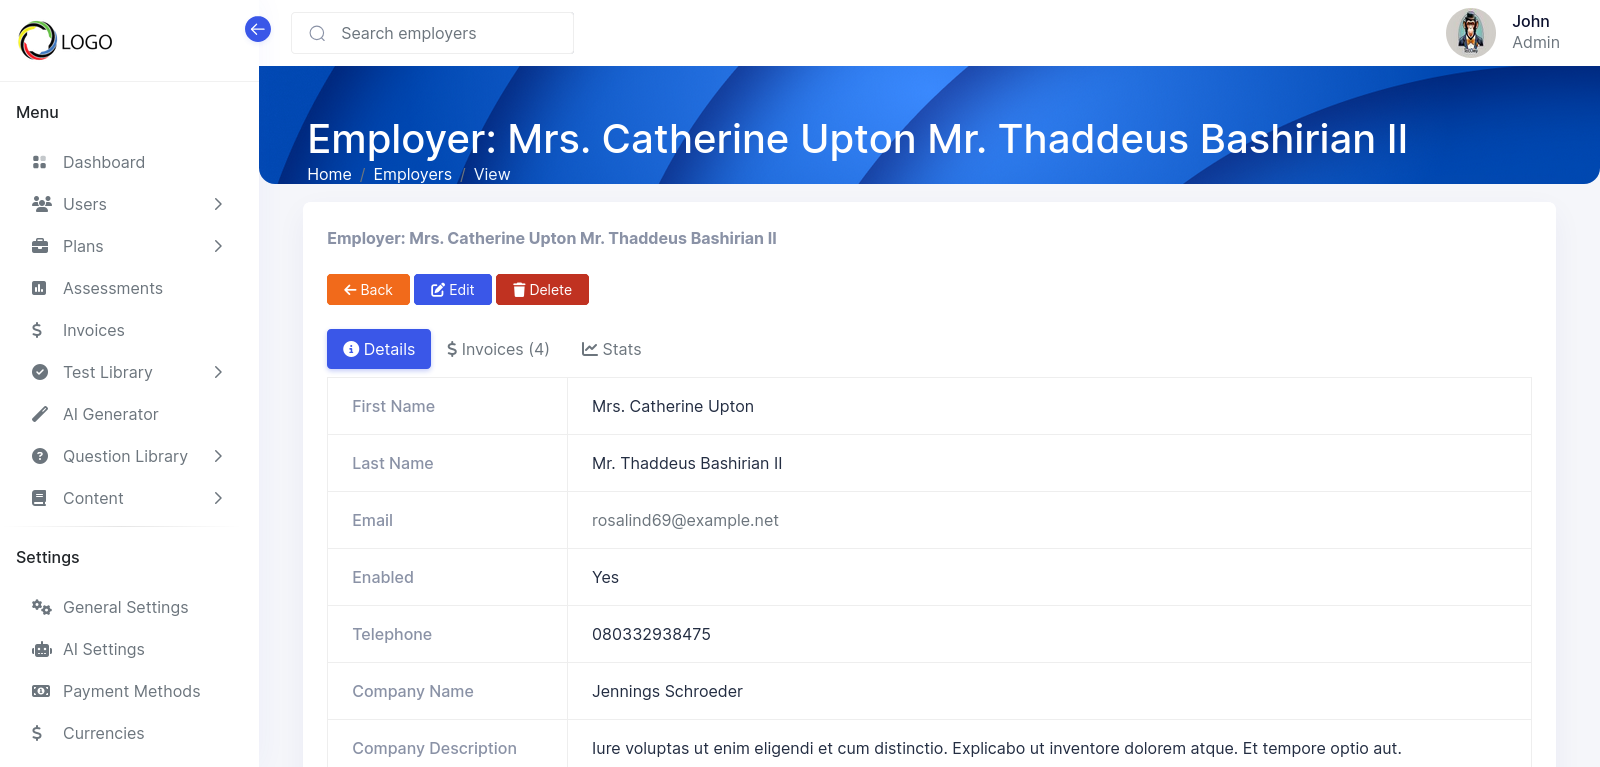
Clicking on an employer's name or clicking on the view button will bring up the employer details page. This page displays all the information about an employer as well as all their invoices and statistics on their usage of the system.
On the 'Invoices' tab will display the list of all invoices for that employer.
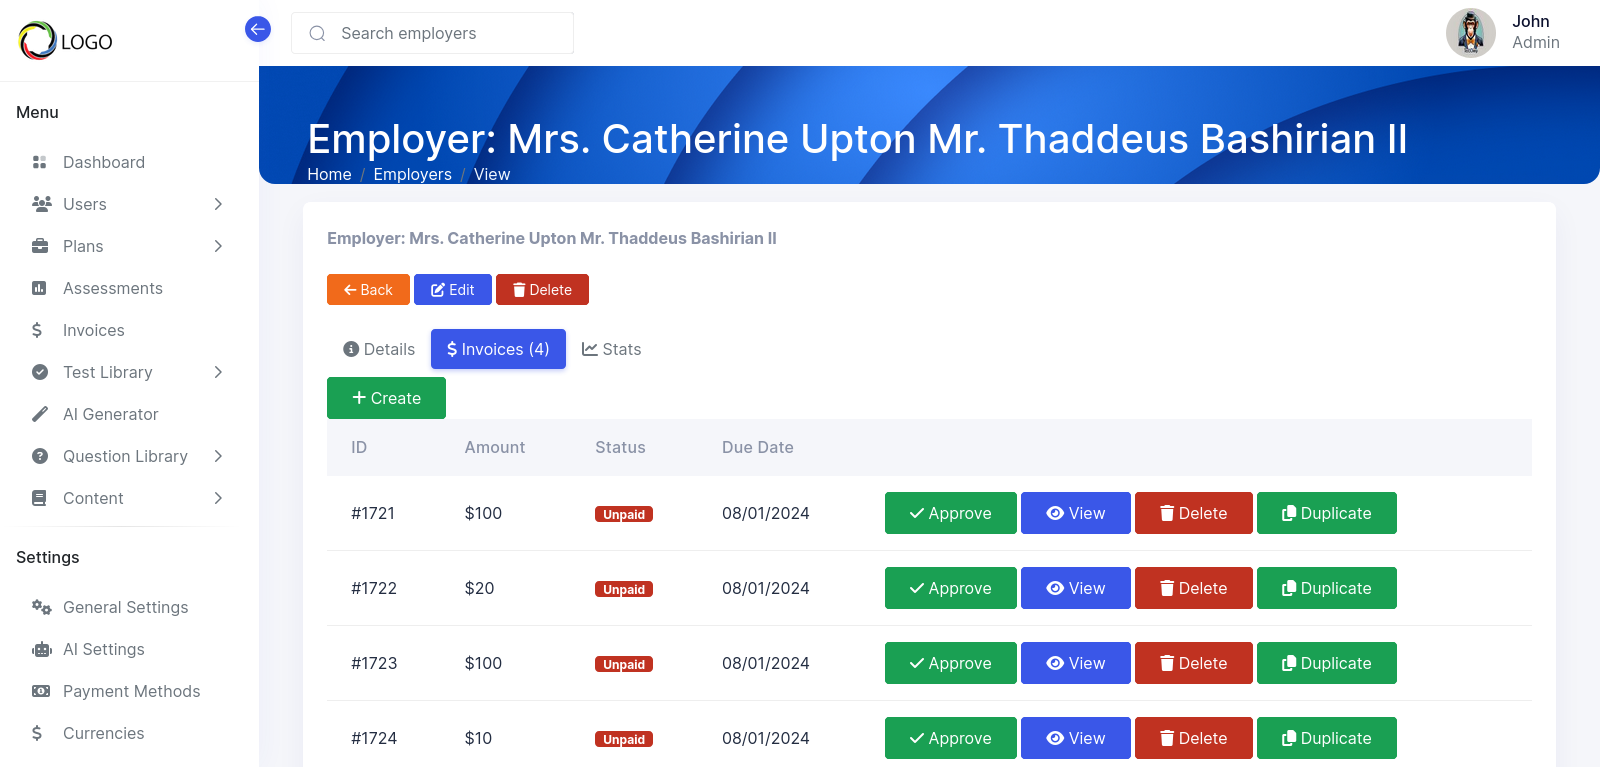
You can see the status of the invoice. If the invoice is still pending then you can click on the approve button to approve it. Approving an invoice will automatically extend the user's subscription. You can also create a new invoice on this tab.
The stats tab displays summaries of different totals for the employer.
Creating an invoice
Click on the Create button to add a new invoice. The Create Invoice box will open up
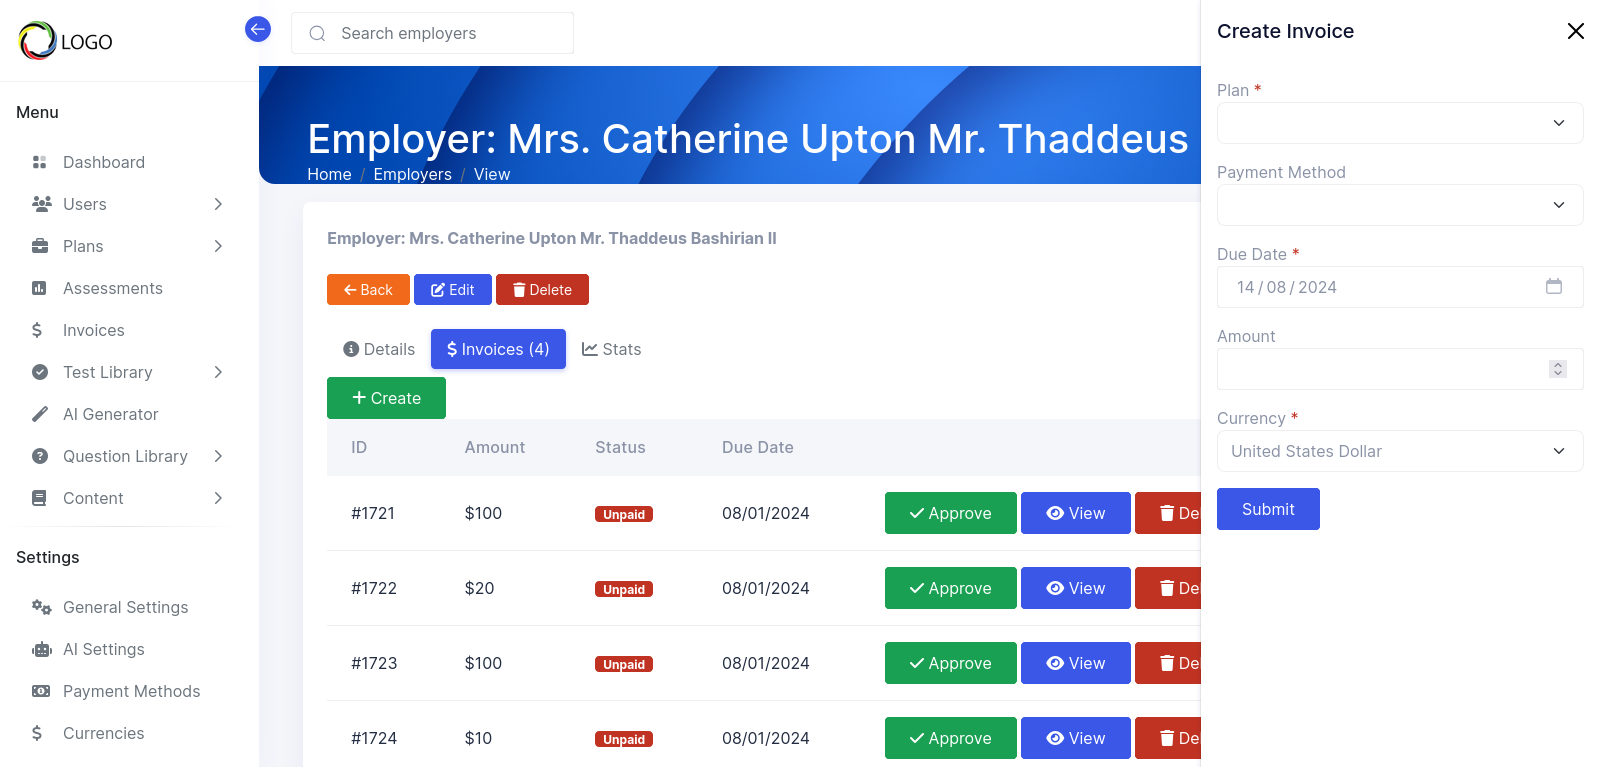
Fill in the details for the invoice and then click on the submit button.
Managing candidates
Click on the candidate menu option to get to the candidate listing page.
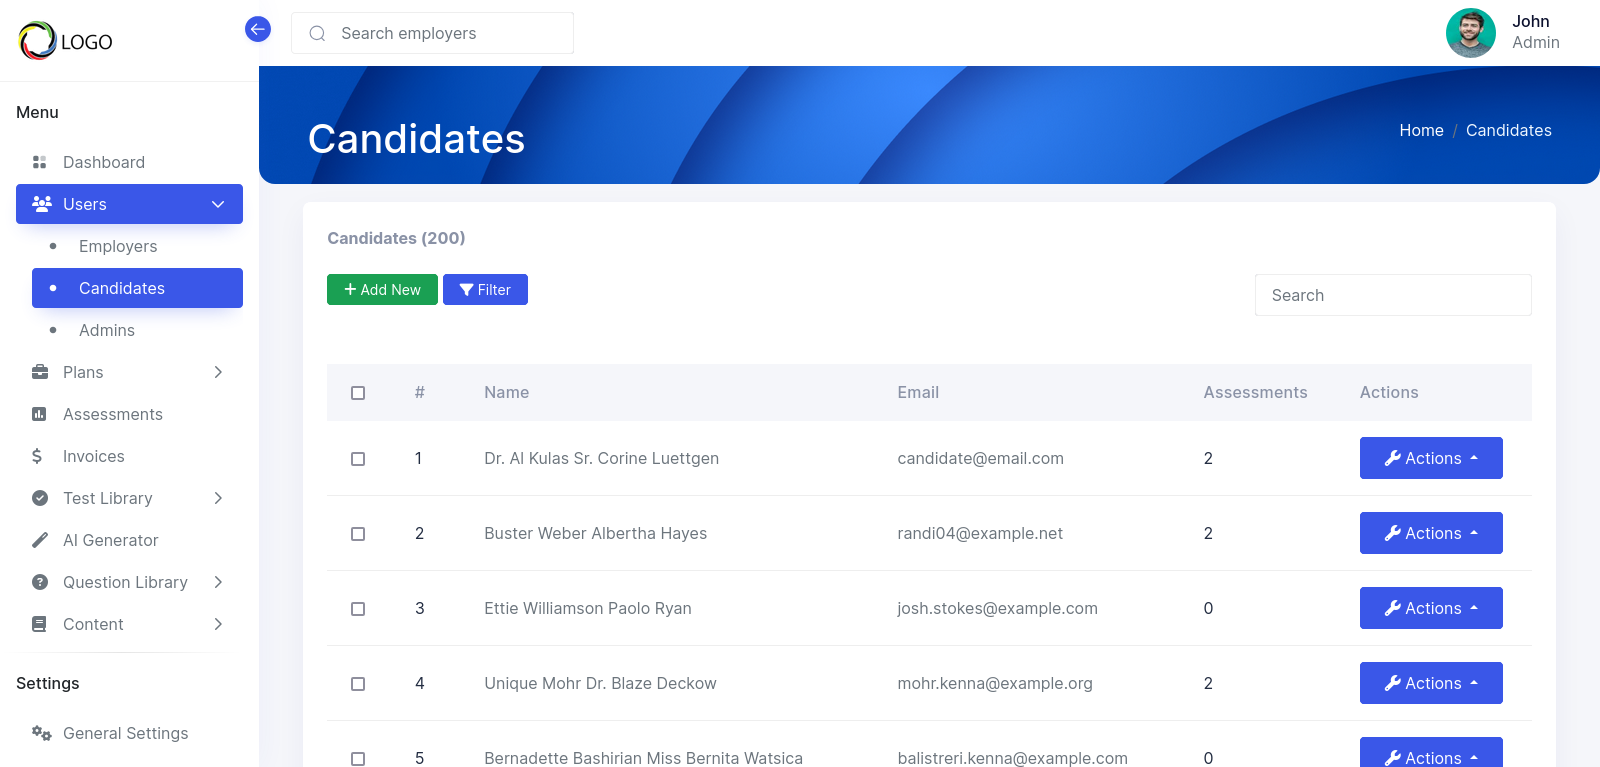
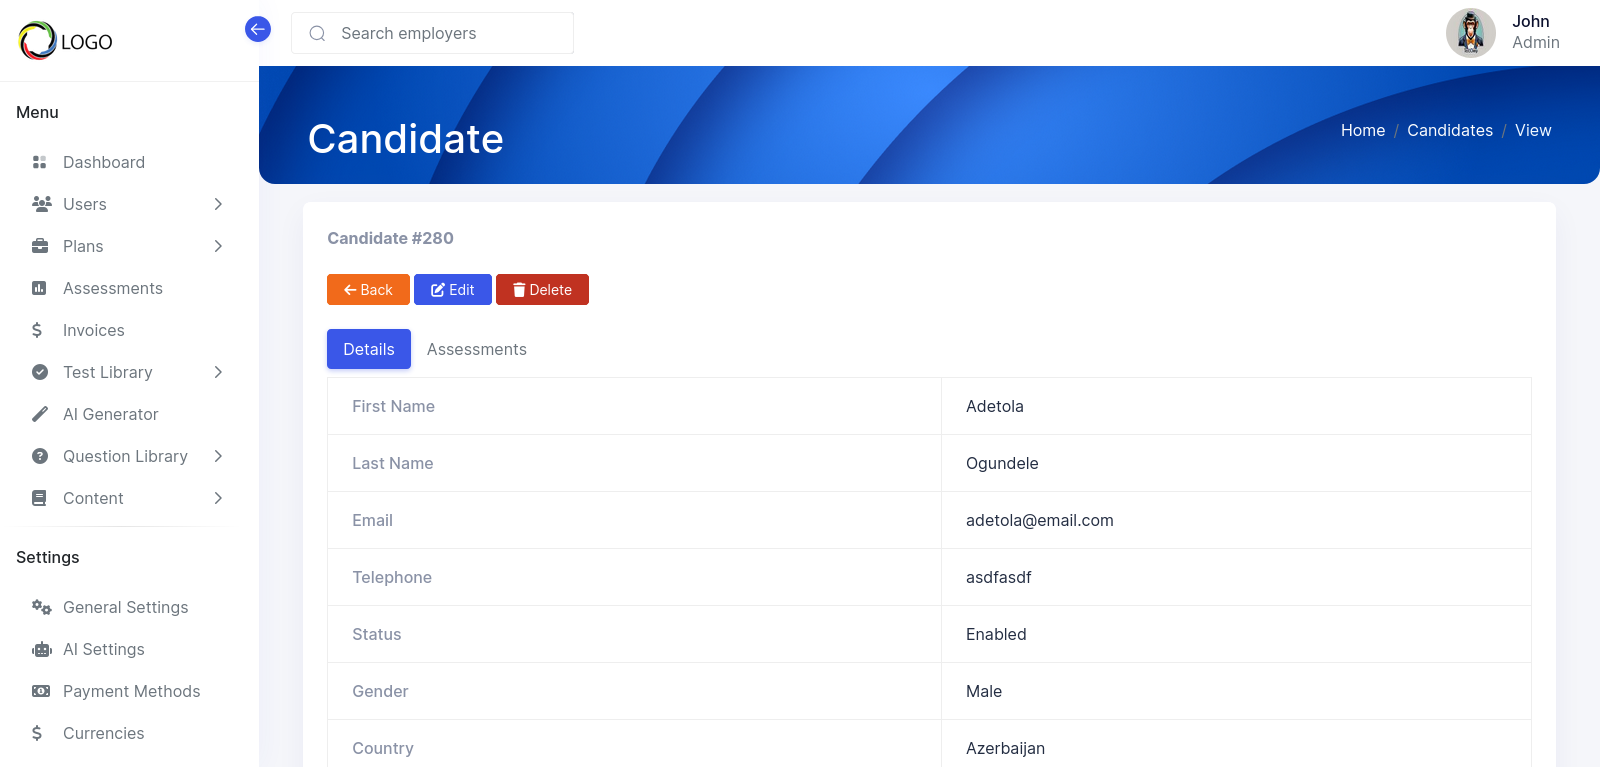
The candidate list also displays the total number of assessments the candidates have taken. Click on the add new button to create a new candidate. It can also filter candidates by clicking on the filter button. For each candidate, there is an 'Actions' drop-down. You can view, edit, or delete a candidate using this button. Viewing a candidate will also display all the assessments they belong to
Managing Admins
Click on the Admins button to get to the Admins management page.

Use the 'Add New' button to create a new admin. Use the 'Filter' button to sort your admins. The 'Actions' button also allows you to create, edit or delete an admin account.