Installation
SERVER REQUIREMENTS
Before you begin installation, make sure you have a webserver that meets the following requirements:
- PHP 8.2.0 or higher
- MySQL 5.7+ / MariaDB 10.3+
Ensure the following PHP extensions are installed
- ext-bcmath
- ext-ctype
- ext-curl
- ext-dom
- ext-gd
- ext-hash
- ext-iconv
- ext-intl
- ext-mbstring
- ext-openssl
- ext-pdo_mysql
- ext-simplexml
- ext-soap
- ext-xsl
- ext-zip
- lib-libxml
It is also strongly recommended that you install FFmpeg on your server. This will enable automatic generation of Video thumbnails
If you are unable to install FFmpeg on your sever, you can specify the path to the FFmpeg and FFprobe binaries in your .env file (in the application root). Simply fill in the following values
FF_MPEG=""
FF_PROBE=""
You can still use TrainEasy without FFmpeg installed. However, you would need to manually upload thumbnails for uploaded videos.
-
The TrainEasy installation file consists of a zip file that has the following contents when unzipped
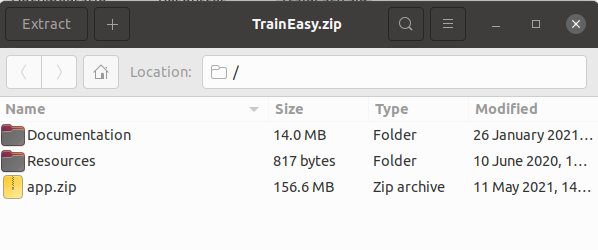
- Upload the app.zip file into the root of your web server or wherever you would like the application to reside.
-
Extract the contents of the app.zip folder. You will see the following directory structure:
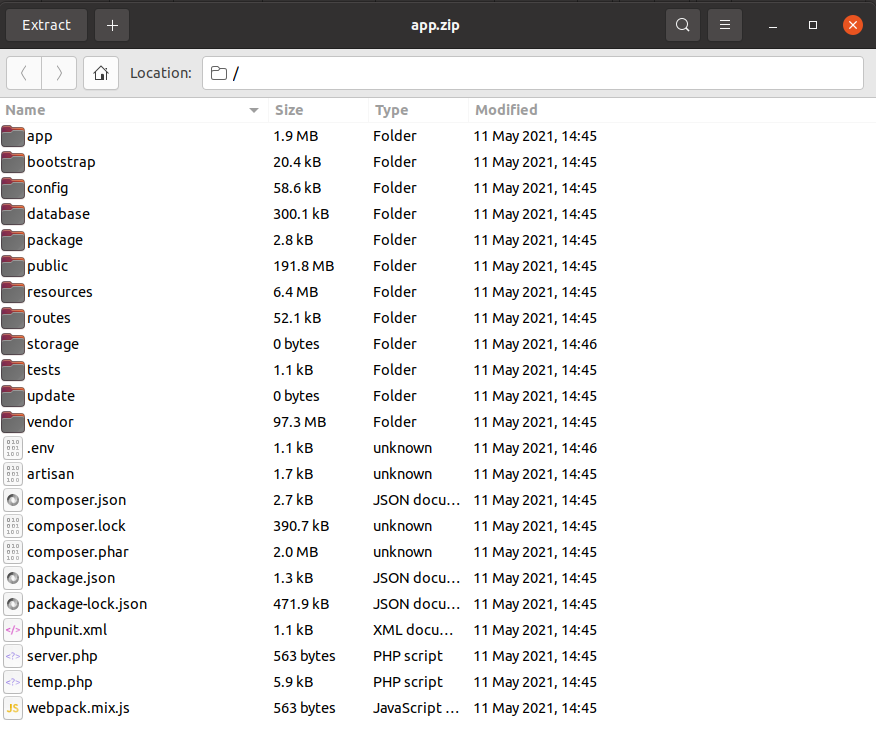
- We recommend that you point your domain name to the public
directory. Your should be able to do this from your Hosting's control
panel.
Otherwise, you can use the .htaccess file located the the
'Resources' directory. Simply upload this file to the same directory as
the public folder and then change the [YOUR_DOMAIN_NAME] placeholder to your actual domain name
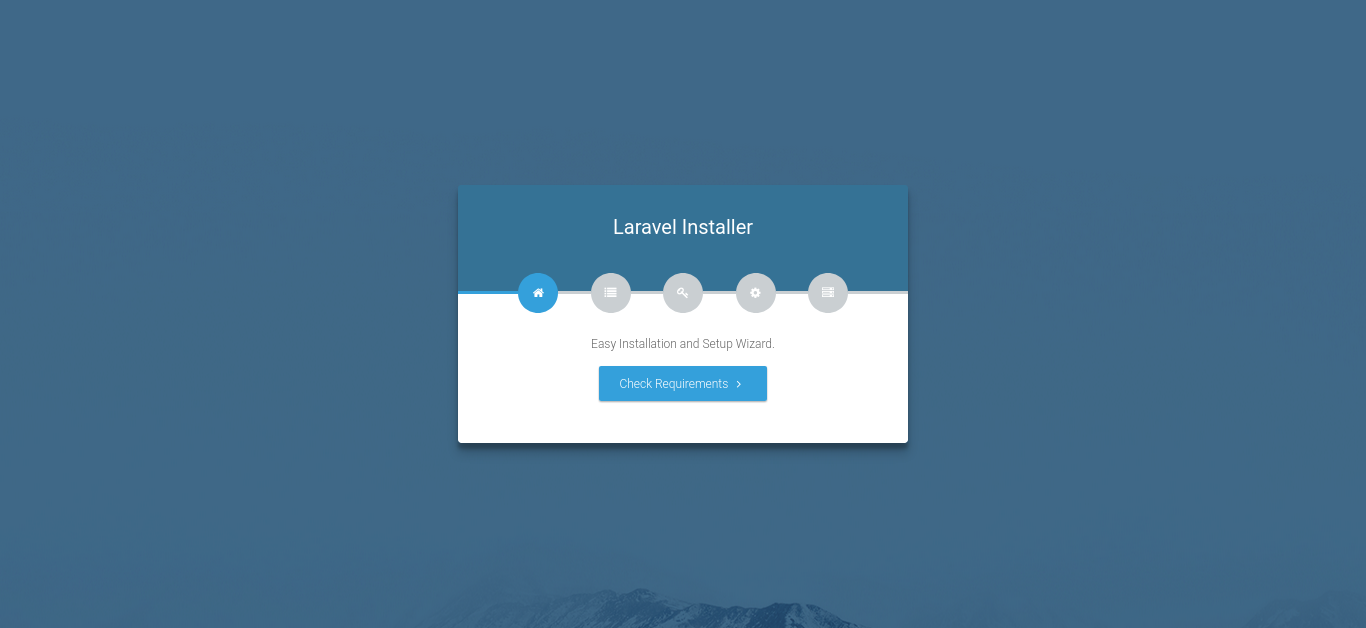
- Open your web browser and enter the domain name for the application. You should see the setup wizard open like below:
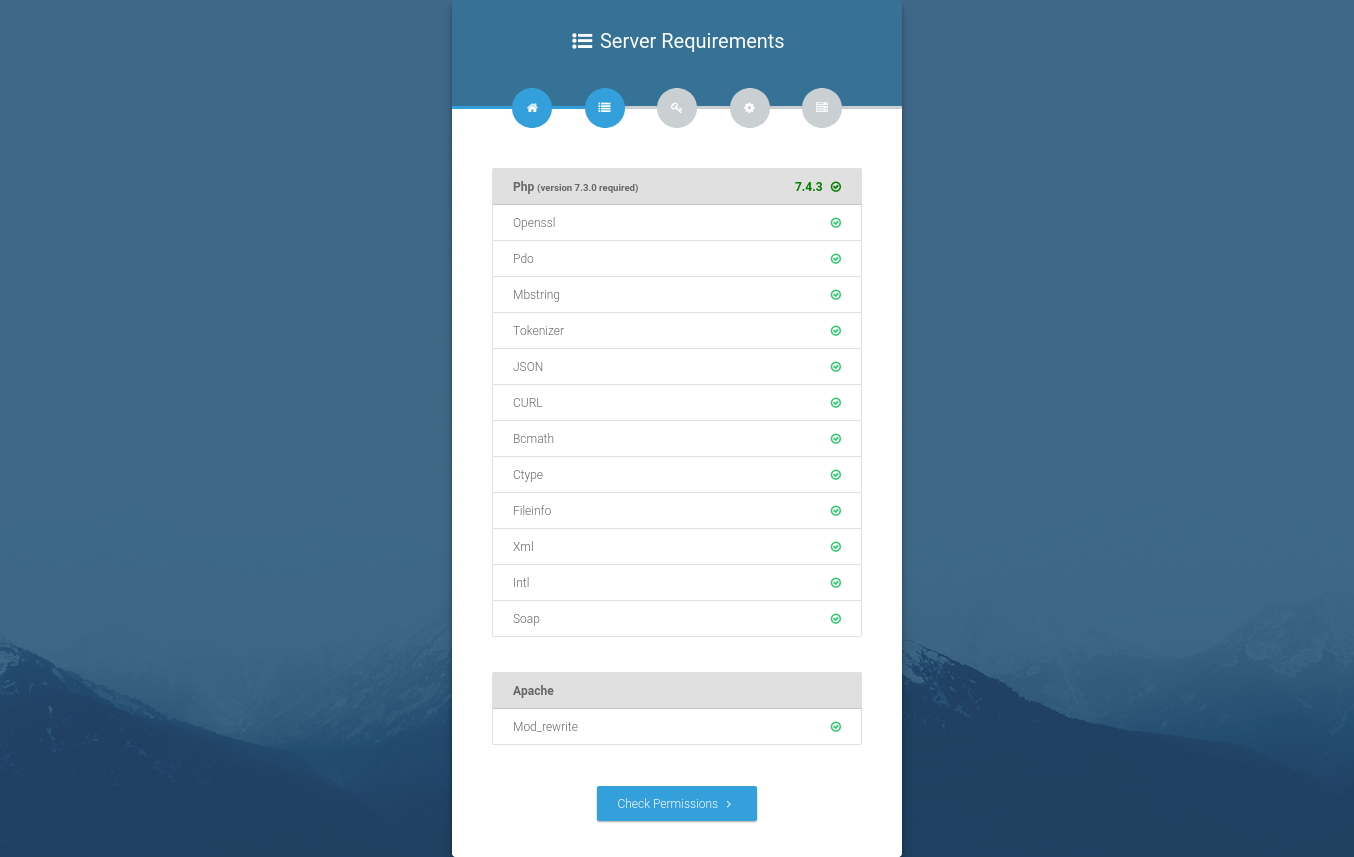
- Click on the 'Check Requirements' button. The installer will check to ensure that you have all the required PHP extensions.
- If all extensions are available, click on the 'Check Permissions' button. If any extensions are missing, ensure you enable them on your server before proceeding.
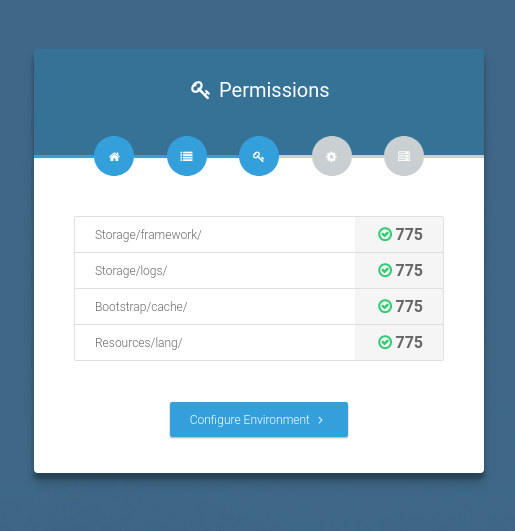
- Next, click on the 'Configure Environment' button (if any of the listed folders are not writable, make sure you correct this before proceeding).
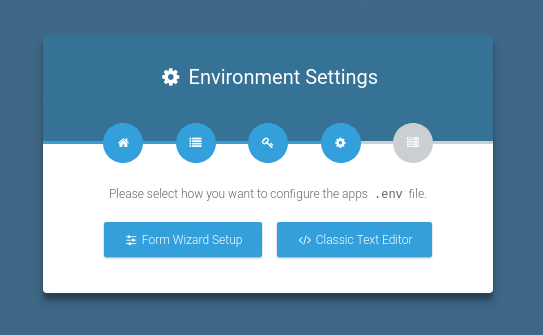
- Click on the 'Form Wizard Setup' button.
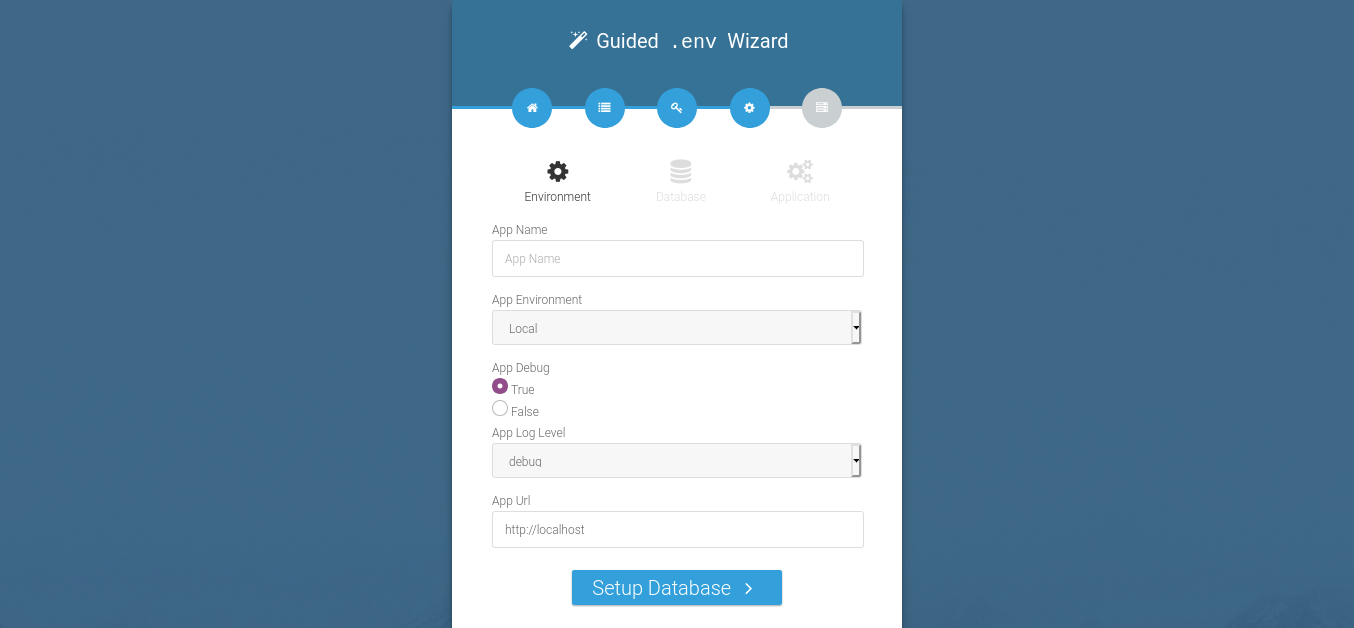
Enter your 'App Name' (Usually your website/company name). Set 'App Debug' to 'False'. Change the 'App Url' to your website u. Leave other defaults and click 'Setup Database'.
- Enter in your Database credentials. Click 'Setup Application'

Leave all the defaults in the next screen and click 'Install'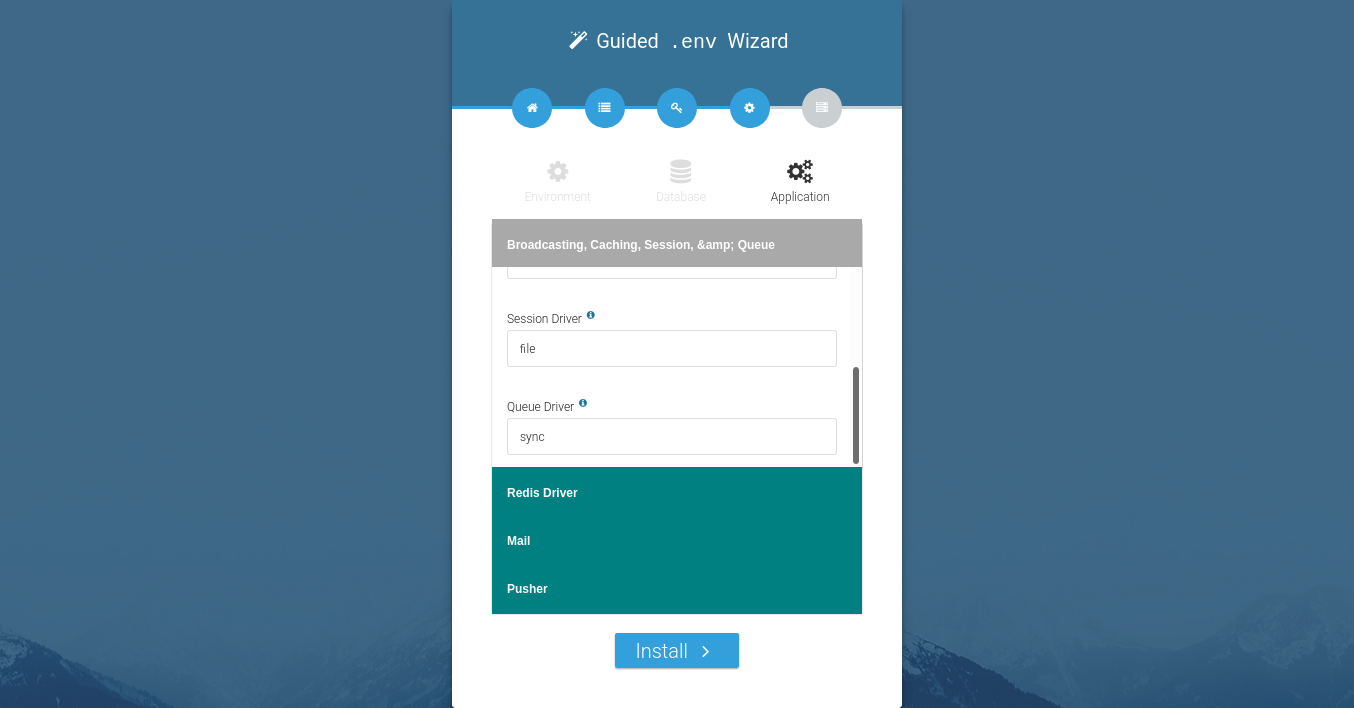
- Once the installation is complete, you will see a page like below:
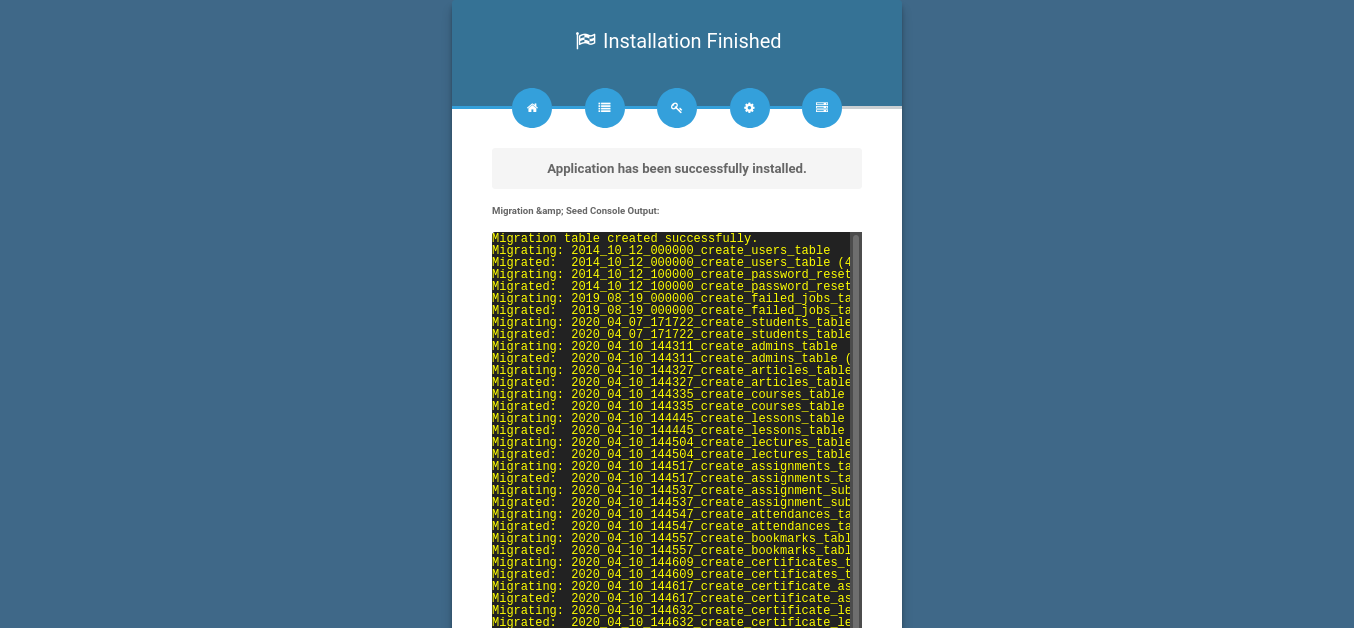
Click on the 'Click here to exit' button and you should then be directed to your homepage
Setting up cron jobs
TrainEasy sends different notification messages automatically. To enable this, you need to setup the laravel task scheduler.
Create a cron job similar to this:
* * * * * cd /path-to-your-project && php artisan schedule:run >> /dev/null 2>&1
YOUR FIRST ADMIN ACCOUNT
When you install the application for the first time, a default Admin account is created for you. The credentials for this account are as follows:
Email:admin@email.com
Password:password
Click on the 'Login/Register' link at the top in order to login to your admin area. Make sure you change your email and password immediately you login.