Creating Sessions & Courses
Once you have successfully created your classes, you can then create sessions and courses. In TrainEasy there are three types:
- Training Session: A training session is an event that is holding at a physical location on set dates. You can only add 'Physical Location' classes to Training Sessions.
- Online Course: An online course is a virtual training event. You can only add 'Online classes' to online courses.
- Training Session with Online Classes: This is a training session holding at a physical location with optional online classes. You can add both 'Physical Location' and 'Online Classes' to these type of session.
Creating an online course
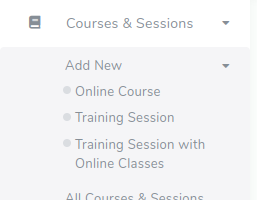
To create an online course, go to 'Courses & Sessions'-'Add New'-'Online Course'

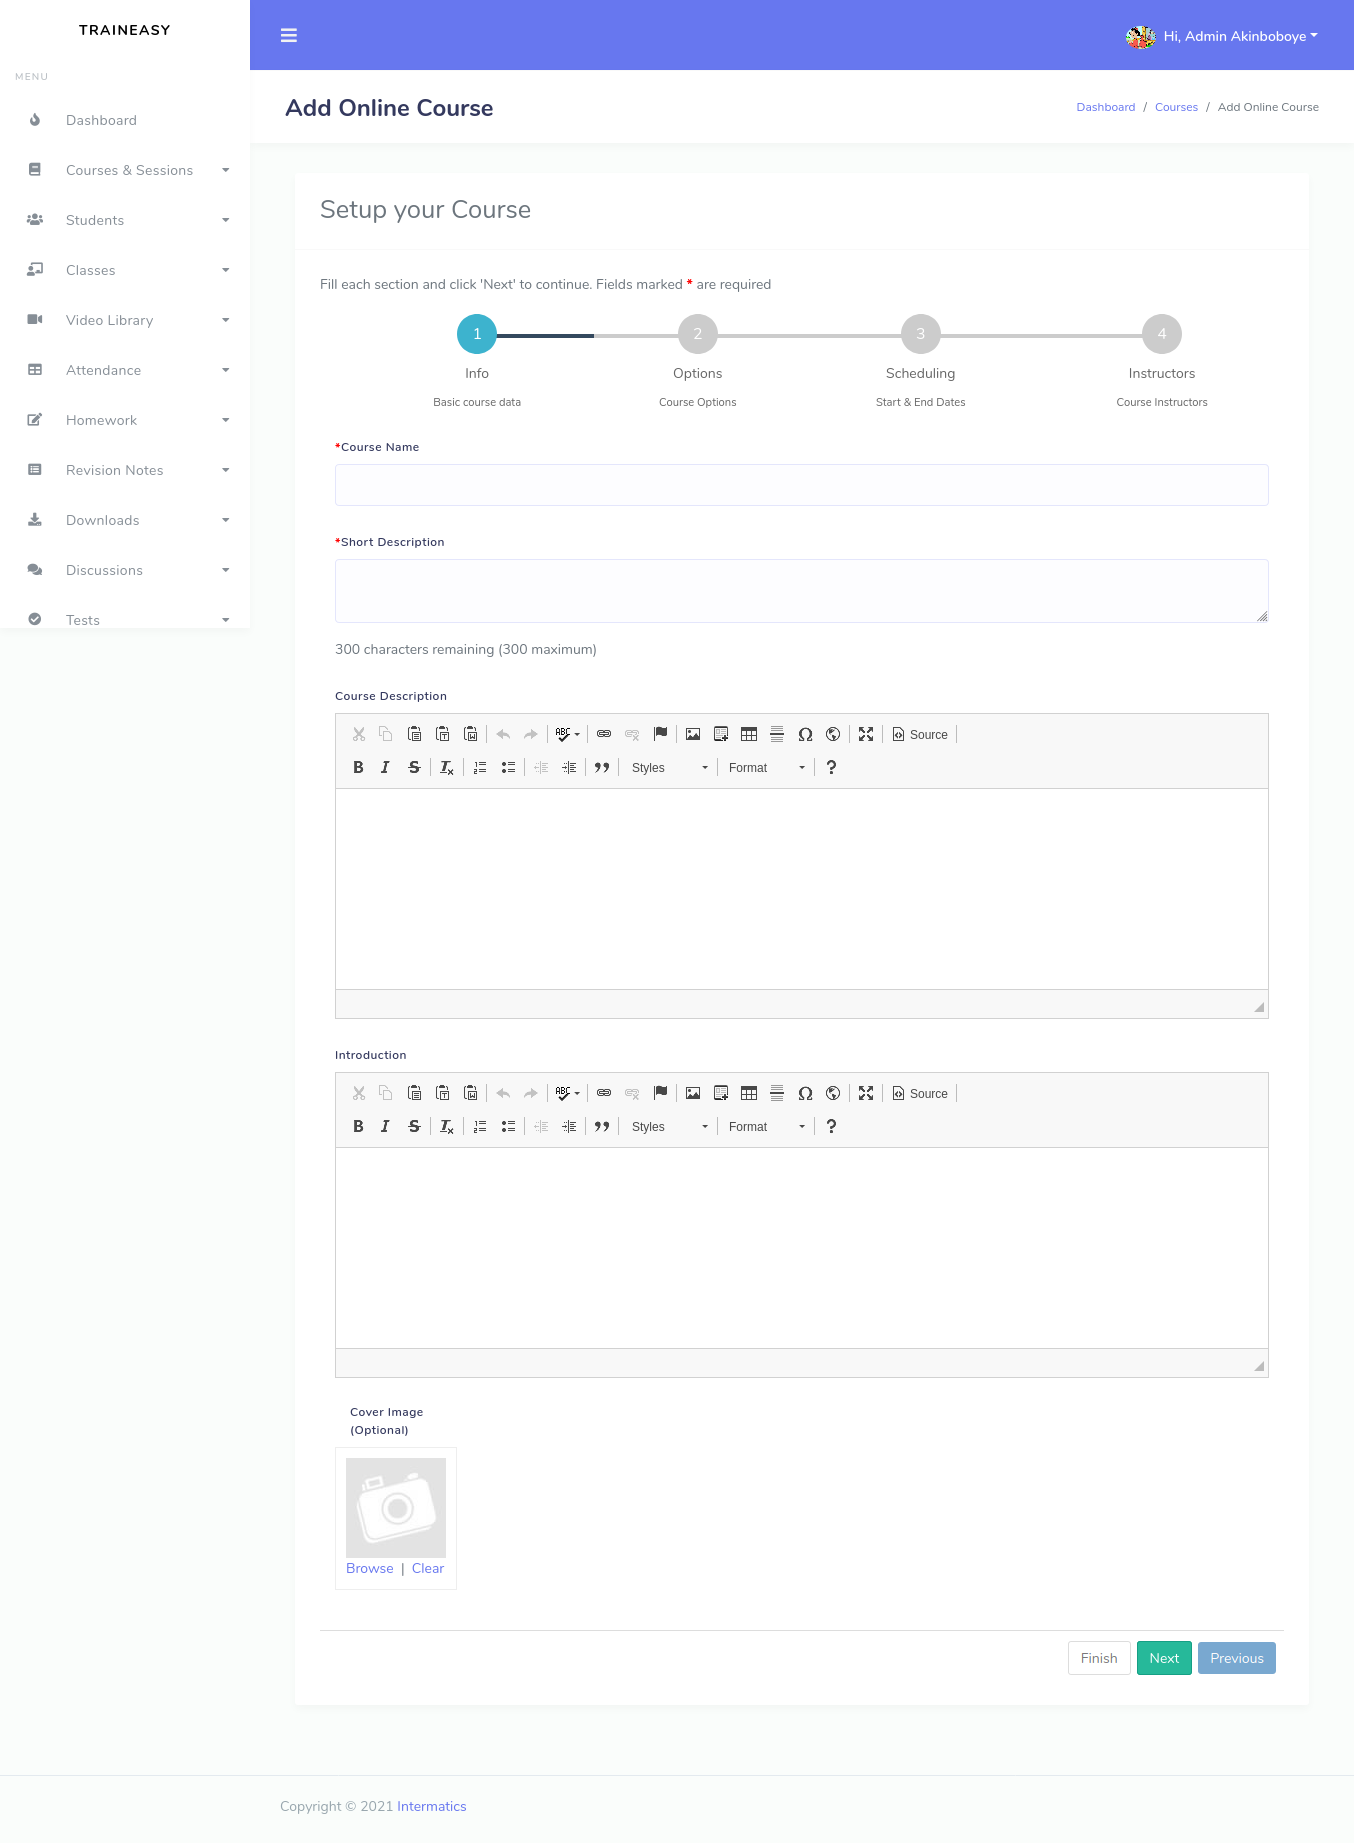
The course creation page appears as below:

- Course Name: A short descriptive name of the course
- Course Start Date: The date the course is scheduled to begin. If left blank, the course will be available immediately.
- Enrollment
Closes: The closing date for students to be able to enroll for the
course. The course can still be visible on the frontend after this date
but the Enroll button will be unavailable. If left
blank, enrollment will not close.
- Course End Date: The date
the course closes. After this date, the course will no longer be
available on the frontend. If left blank, the course will not end.
- Payment Required: This specifies if a course is free or requires payment.
- Course Fee: The fee charged for the course. This field only takes effect if the Payment Required field is set to Yes.
- Effort: A short text indicating how much effort a student is expected to put in to complete the course.
- Length: A short text indicating how long the course is expected to run for.
- Short Description: A short summary of the course. This is displayed on the course catalog page on the frontend.
- Course Description: A detailed description about the course.
- Introduction: A brief introduction to the course. This is only displayed to enrolled students.
- Course Categories: Sets what category or categories the course should belong to. This controls where the course will be listed in the frontend. Note that you will need to have already created the categories on the page for managing categories.
- Course Instructors: Sets the instructors for this course. It is important that you set this as it controls who students are able to open discussions with.
- Status: This controls if the course is visible on the frontend or not regardless of other settings (start date, closing date etc). You will usually want to set this to 'Disabled' while editing the course and creating its content.
- Enable Discussions: Controls if students will be able to open discussions with the instructors assigned to this course.
- Enable Live Chat: Controls if live chat should be made available to students while taking this course. Note that you will need to have already saved your live chat embed code on the Site Settings page for this to work properly.
- Enforce Class Order: If this is set to 'Yes' then students will be forced to take classes in the order that you set them.
- Cover Image: Set a descriptive image for this course.
- Select Classes: Select all the classes for the course You can also specify the opening date and position of the class.
Creating a Training Session
To create a training session, go to 'Courses & Sessions'-'Add New'-'Training Session' or 'Courses & Sessions'-'Add New'-'Training Session with Online Classes' depending on the type of session you wish to create
. 
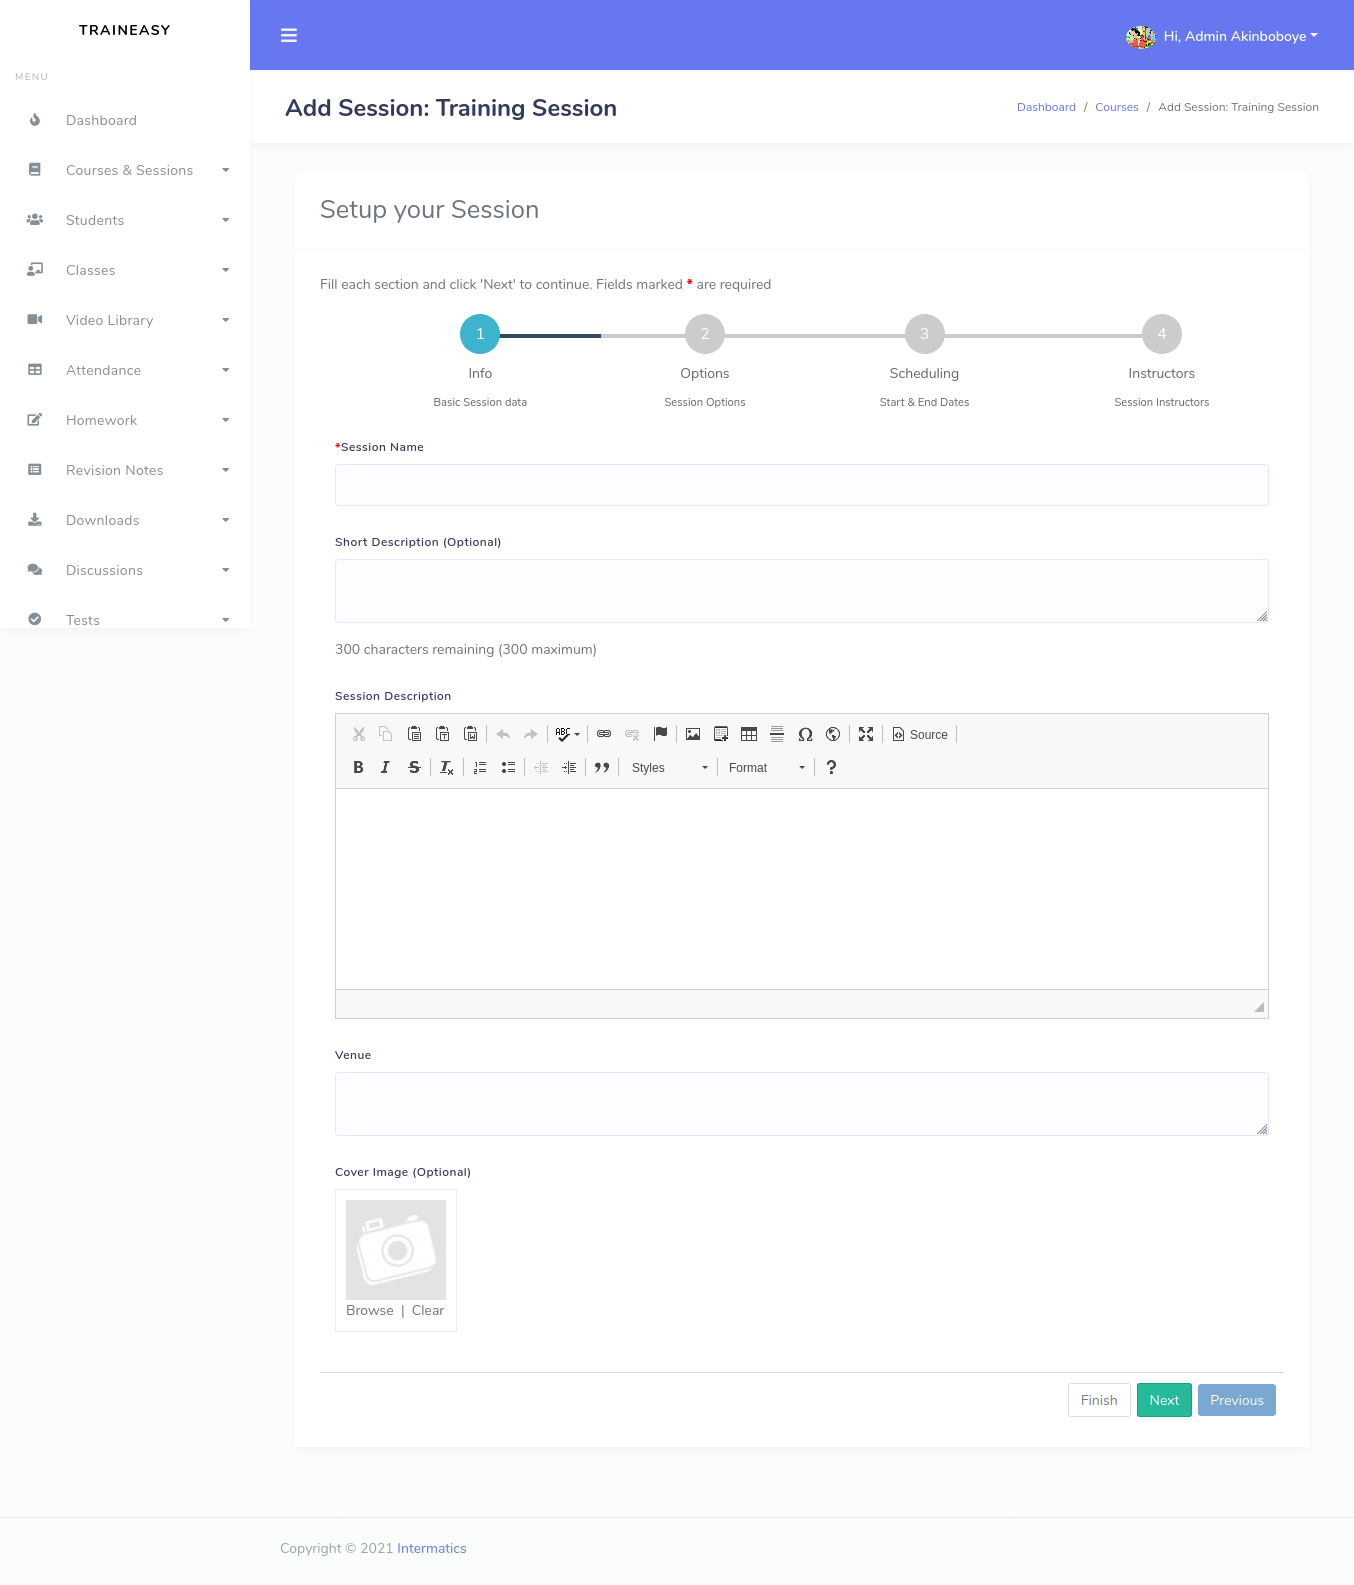
The session creation page will open as shown below:

The following fields are available for each session
- Session Name: A short descriptive name of the session
- Session Start Date: The date the first class in the session is scheduled to begin.
- Registration Closes: The closing date for students to be able to enroll for the session. The session can still be visible on the frontend after this date but the Enroll button will be unavailable.
- Session End Date: The date the last class in the session is scheduled to hold. The session will no longer be visible on the frontend after this date.
- Payment Required: This specifies if a session is free or requires payment.
- Session Fee: The fee charged for the session. This field only takes effect if the Payment Required field is set to Yes.
- Short Description: A short summary of the session. This is displayed on the session catalog page.
- Session Description: A detailed description about the session and its classes.
- Status: This controls if the session is visible on the frontend or not regardless of other settings (start date, closing date etc).
- Venue: The location for the classes in the session. If classes will hold in multiple locations, you can specify the venue for each individual class.
- Select Classes: Select all the classes for the session. You can also specify the date and venue for the class if (different from the session venue).
