WordPress Plugin Guide
The CarePro WordPress plugin enables you to seamlessly integrate the public facing features of CarePro into your WordPress website. This is especially useful if you have an existing WordPress website and would like employers and candidates to perform all their tasks on your site without having to login from another domain/interface. It also features Shortcodes that enable you top insert elements such as profiles and vacancies into any page on your WordPress site.
The plugin uses the API from the CarePro Laravel application so make sure you have that already setup and running before attempting to install the plugin. All data resides in the Laravel application database and is synchronized in real time.
INSTALLATION
In order to install the Plugin, extract your CarePro installation archive and locate the carepro-wordpress.zip file. You can perform the installation in two ways
- Login to your WordPress admin area and navigate to 'Plugins'-'Add New'
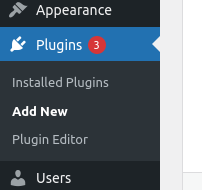
Then click on the 'Upload Plugin' button.
- You can also install by extracting the contents of the carepro-wordpress.zip file into your wp-content/plugins folder.
Once installed, go to the 'Installed Plugins' page in WordPress and activate the plugin (click on the 'Activate' link).
PLUGIN SETUP
In order to use the plugin, you will need to perform some setup steps. In the WordPress admin area, go to 'Settings'-'CarePro'
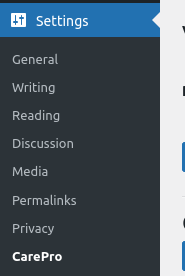
On the Settings page, you will see the following fields
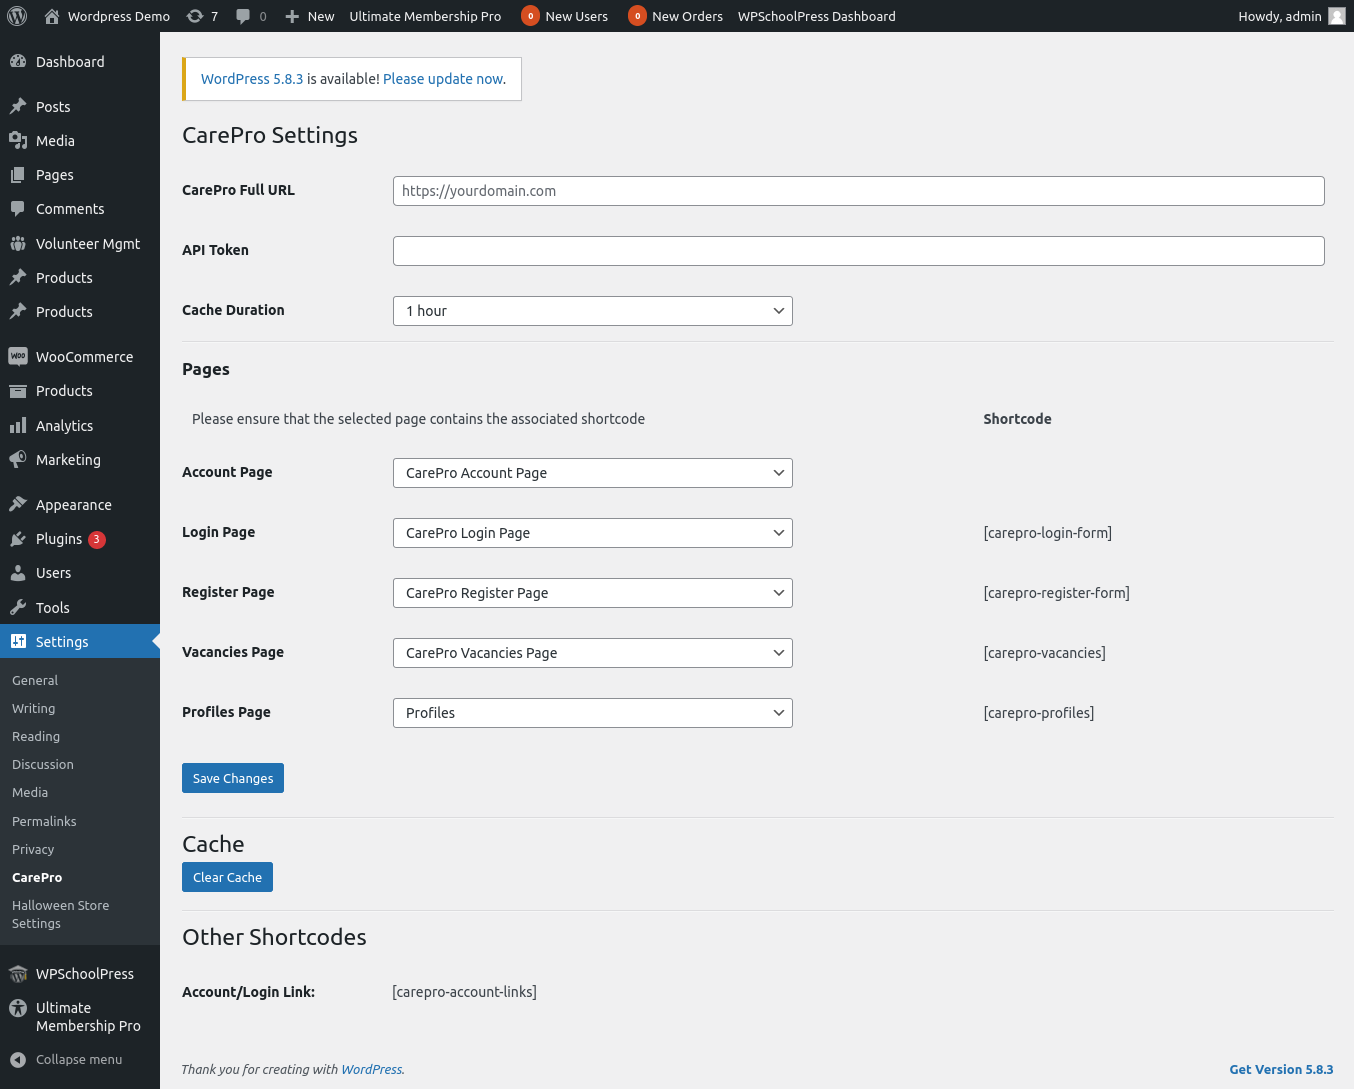
- CarePro Full URL: In this field, insert the full url of your existing CarePro Laravel application. Ensure you specify the protocol e.g https:// and do not use a trailing slash.
-
API Token: You need to enter in an API Token created from your CarePro Laravel application. To create a new token, open the CarePro Laravel application and login to the admin area. Navigate to 'Settings'-'Api Tokens'.
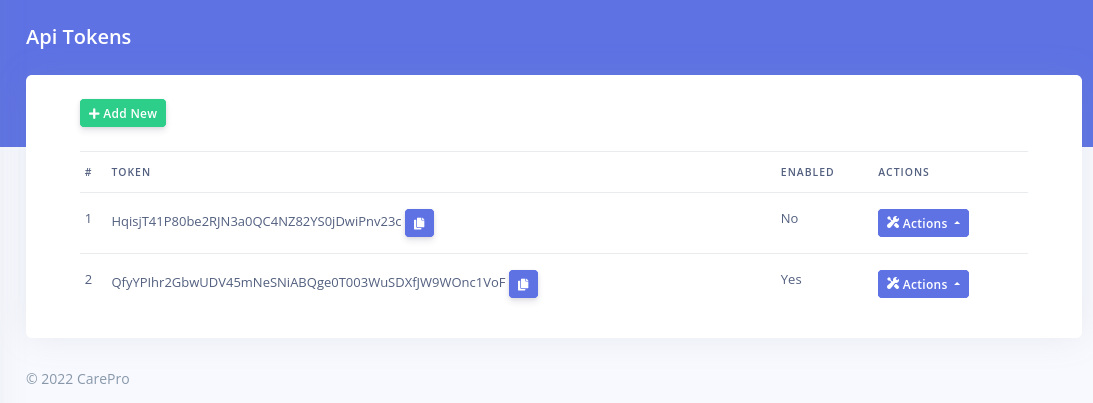
Copy and existing Token or click on 'Add New' to create a new one.
You can leave all the other settings as their defaults. The Pages section assigns the default pages for different features of the plugin. These pages are created and assigned for you by default. However, if they are ever deleted, you can use this interface to set them. Ensure each page contains the associated shortcode listed. The exception is the 'Account Page' which does not display any content but only serves to provide the User dashboard permalink.
The 'Clear Cache' button can be used to delete the CarePro cache. CarePro caches the application settings retrieved from the Laravel Application. If you update the settings and would like to see the changes reflect immediately in the WordPress plugin, then click on this button. The cache lasts for as long as the 'Cache Duration' option set on that page.
SHORTCODES
The plugin provides different Shortcodes for integration with your wordpress site.
|
SHORTCODE |
DESCRIPTION |
ATTRIBUTES |
[carepro-login-form]
|
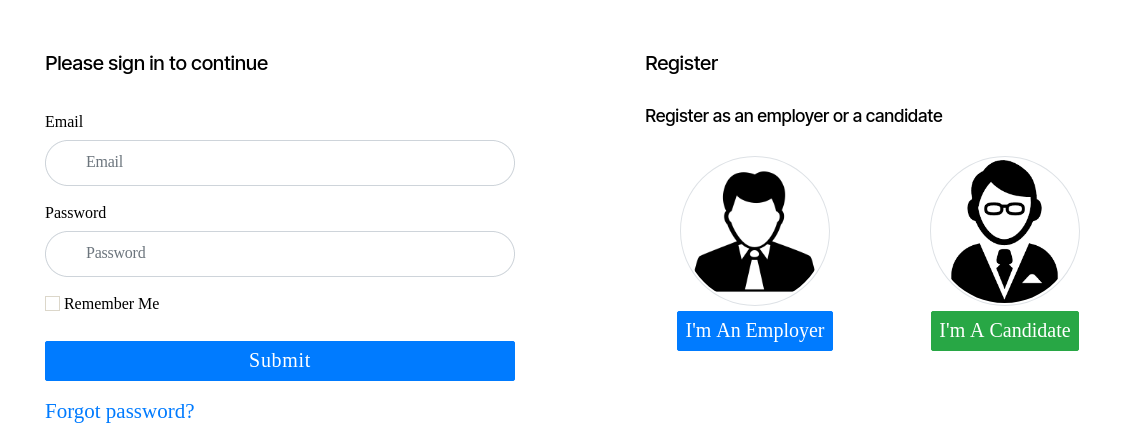
This displays the login page. This page also contains registration buttons for Candidates and Employers (where enabled)
|
None |
[carepro-register-form]
|
This displays the options for Candidate and Employer registration
|
None |
[carepro-vacancies]
|
This displays the list of available Vacancies
|
e.g. |
[carepro-profiles]
|
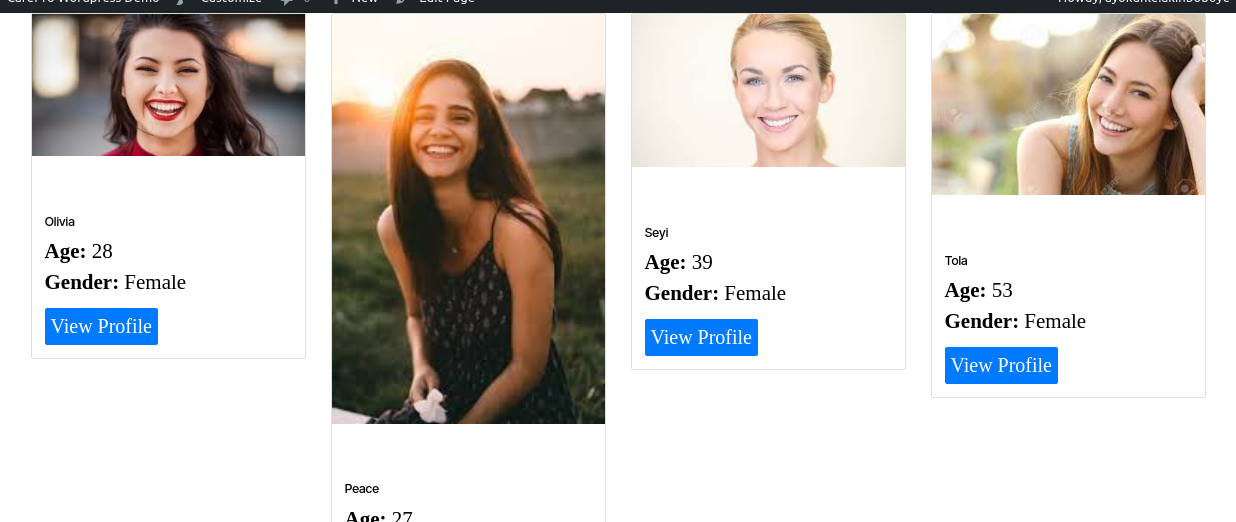
This lists the publicly available candidates.
|
e.g. |
[carepro-account-links]
|
This displays Login/Register or Account/Logout links depending on the user's authentication status.
|
None |
Please note that the plugin does not create users on your WordPress installation. All employers and candidates that register using the plugin are saved on the Laravel application database. The plugin supports any custom candidate or employer registration/profile form fields.

