Candidate Settings
Each candidate on your CarePro portal will have an
account. This account enables candidates to be able to log in and perform
various actions e.g. viewing employment history, taking tests, viewing
upcoming interviews, etc.
You can choose to allow candidates to create accounts
for themselves by registering on the Frontend. This is the default
setting. If however for some reason you do not wish to allow candidates
to register (e.g. you wish to create all candidate accounts manually), you
can disable candidate registration. The setting to do this is available
on the 'General Settings' page. You can open this page by going to
'Settings'-'General'
Scrolling down on the page reveals some options for candidate registration
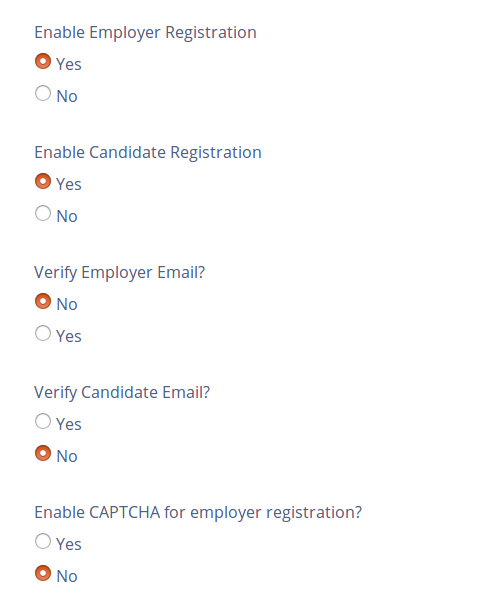
Important candidate related settings to note here are
-
Enable candidate registration: This
controls if registration is enabled for candidates. If set to 'No' then
no candidate will be able to register on the Frontend. You will however
still be able to create accounts for candidates on the backend and these
candidates will be able to log in from the frontend as long as their
accounts are marked 'Active'
-
Verify Candidate Email: This enables only
candidates with verified emails to open accounts. This setting only
takes effect if registration is enabled for candidates. The system will
send the candidate a verification email. Only after clicking the email
will a candidate be able to complete their registration.
-
Enable CAPTCHA for candidate registration:
This forces candidates to fill in a numeric code on an image (CAPTCHA)
before they can complete their registration. This prevents robots from
creating accounts on your portal.
Candidate Profile Form
By default, the registration form for candidates appears as below:
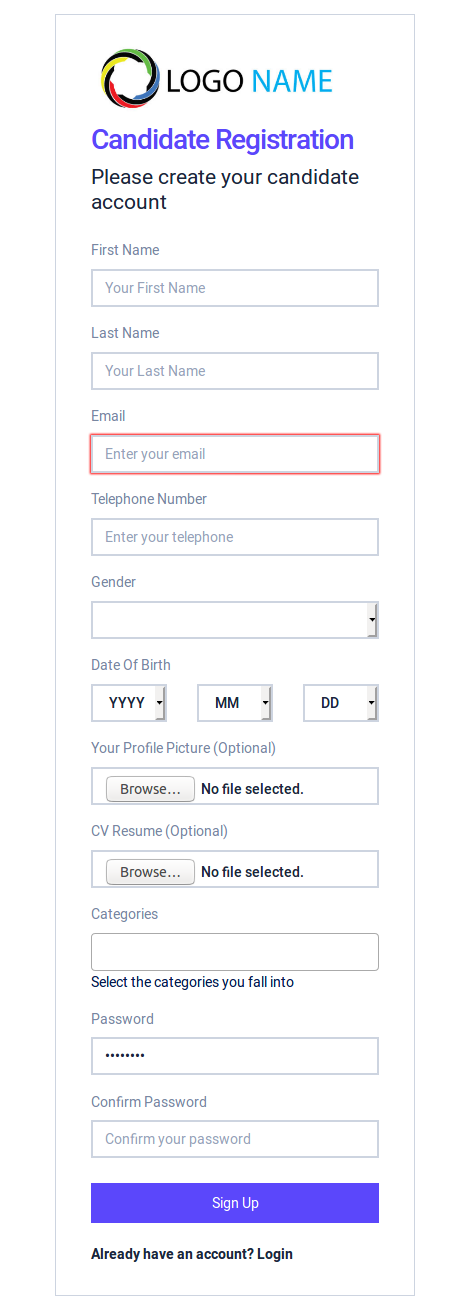
However, if you want every candidate to supply more
information during registration, you can add more fields to the
candidate registration form.
To manage custom fields for candidate profiles, go to 'Settings'-'Forms'-'Candidate Profile'
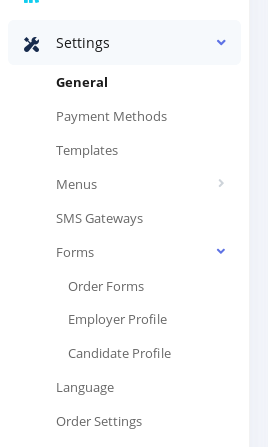
The candidate profile form page opens below
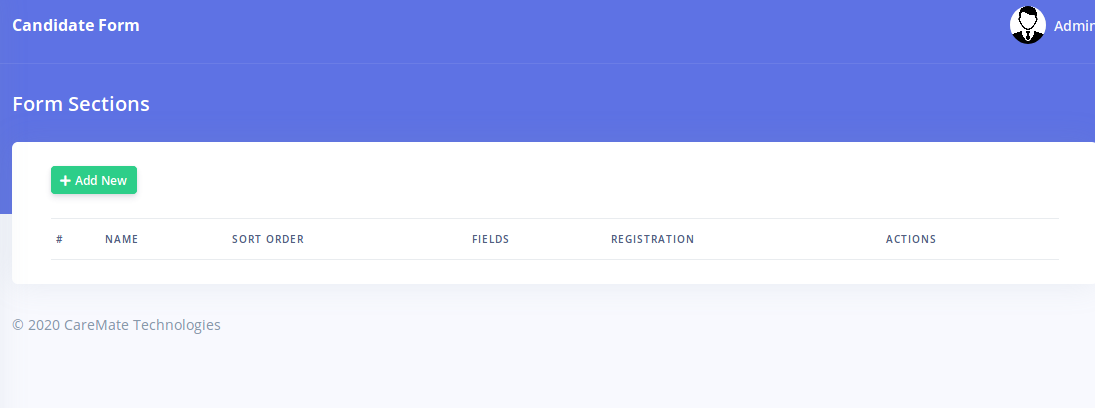
Each field must belong to a section. Sections allow
you to group related fields and make your form more organized. Click on
the 'Add New' button to create a new section
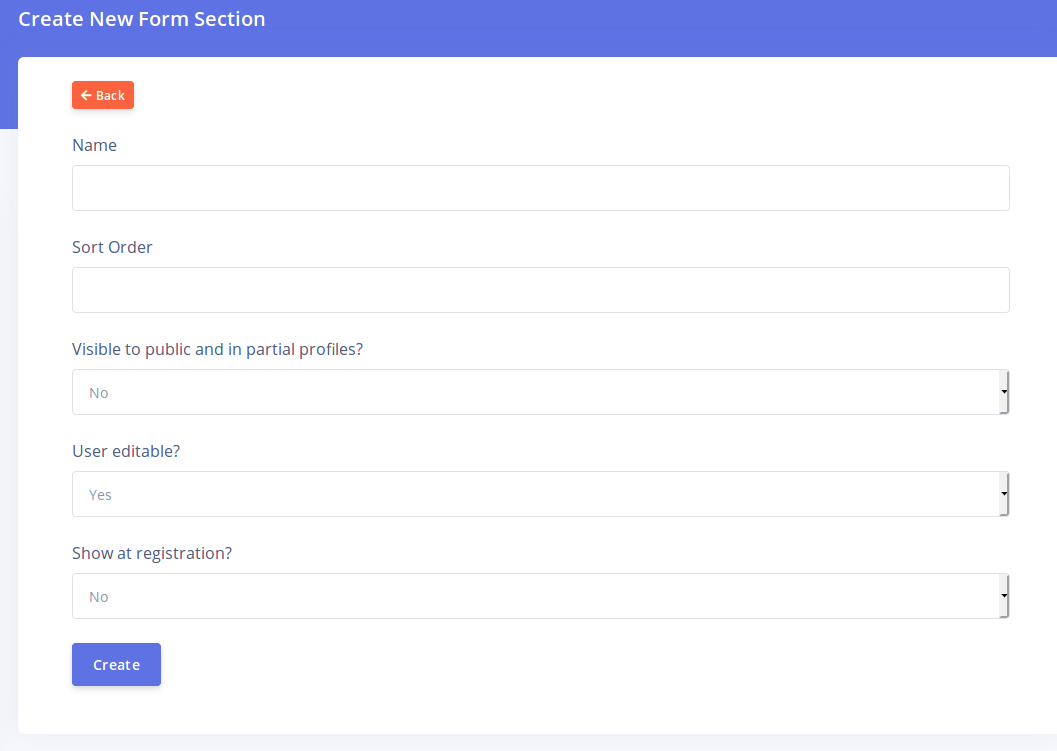
The different fields are explained below
-
Name: The name of the section. This will
also be visible to candidates. Choose a name that describes what type of
information will be collected by the fields in this section
-
Sort Order: This controls the order of display of this section relative to other sections. Sections will be displayed in ascending order.
-
Visible to public and in partial profiles: This
determines if the data in this section should be viewable by employers
while viewing the candidate's profile on the Frontend (if the
candidate's visibility is set to public). It also determines if the
section should be visible partial profiles i.e. partial resume PDF
downloads/emails.
-
User Editable: This determines if the
candidate can make changes to the fields in this section. If set to
'No', then only the admin will be able to view and edit the fields in
this section. Also, setting this to 'No' will hide this section and its
field from the candidate registration form.
-
Show at registration: This determines if
this section and its fields will be visible during registration. This
option is only visible if 'User Editable' is set to 'Yes'. If you set
this option to 'No' then candidates will not see this section and its
fields when they are registering for the first time. However, they will
still see this section if they update their account from their
profile page.
Once you have created a section, you will be directed back to the section list page.
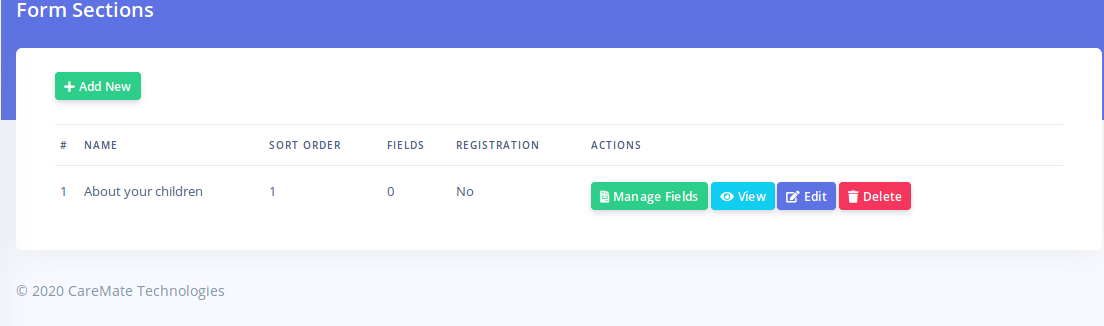
Click on the 'Manage Fields' button for a section to create fields for it. Creating fields here is similar to the
process for creating order form fields. Please click here to read about field creation
Candidate Categories
CarePro allows you to create categories for
candidates. This is especially useful if you run an agency that provides
different categories of candidates. For example, if you run a domestic
staffing agency that provides Nannies, Maids, and Drivers, you can create
each of these as a category. Categories can be added to the navigation
of the main site which will make it easy for Employers to browse through
the list of candidates that is relevant to them.
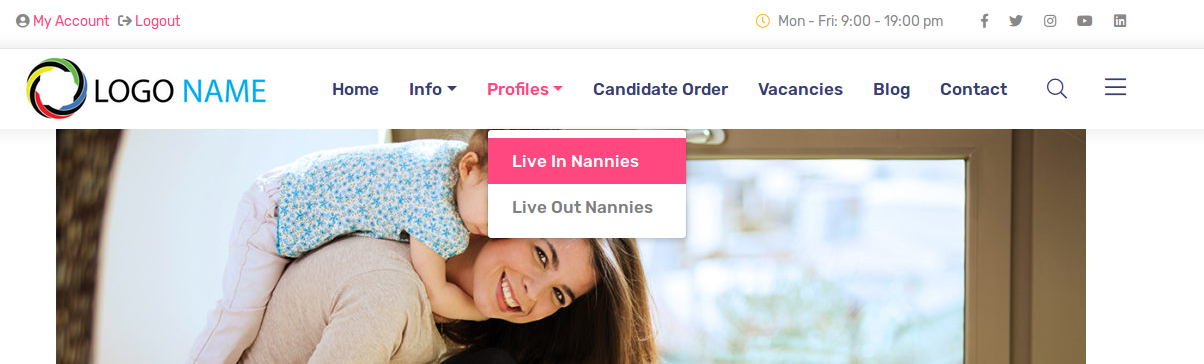
Here is an example of the navigation menu with categories added
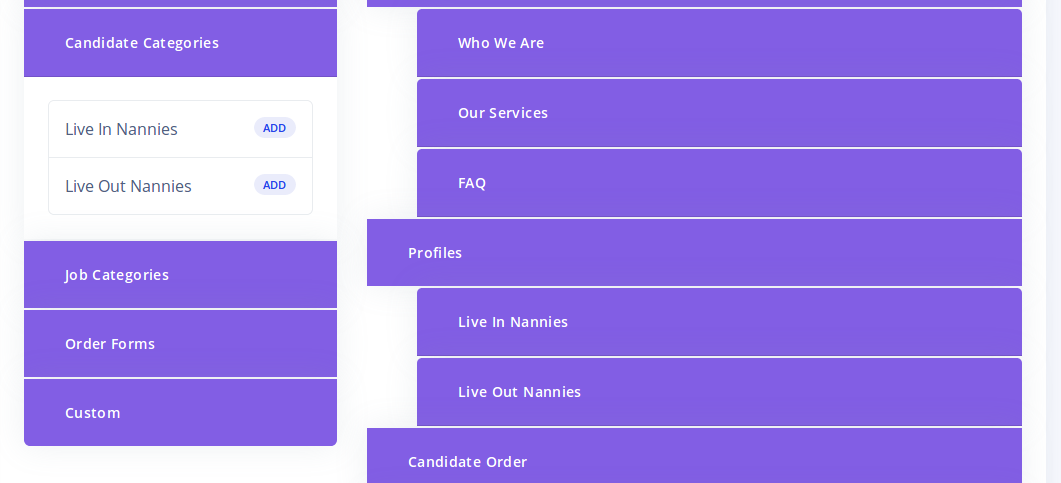
Here is how such a menu appears on the Frontend
Candidates can select what categories they
belong to during registration. You can also place candidates in
different categories from the backend.
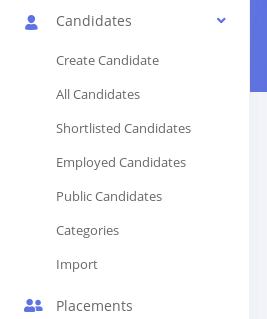
To manage categories, go to 'Candidate'-'Categories'
Click on the 'Actions' link to View, Edit, or Delete a category. Click on 'Add New' to create a new category.
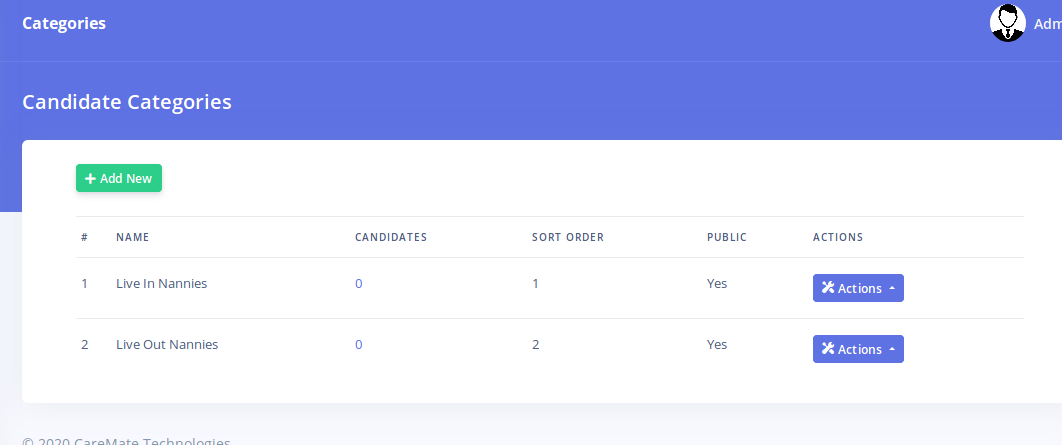
The page also shows the total number of candidates
that are assigned to each category. The sort order controls the display
of categories on the registration form.
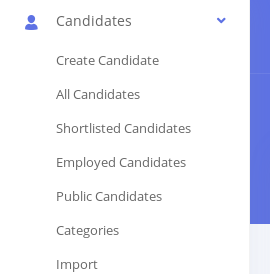
Managing Candidates
Each candidate on your CarePro portal will have an
account. You can manage all the accounts of employers by clicking on the
'Candidates' menu option.
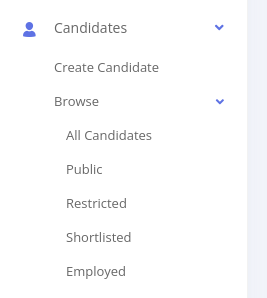
This reveals these links for sorting your candidates:
- All Candidates: This displays all the candidates on your portal
- Public Candidates: These candidates are
visible on the Frontend to employers for shortlisting. If you wish for a candidate to appear for shortlisting,
you can set them as public and view them on this list as well. If you have enabled candidates to set their visibility, they will also be able to make themselves public or private.
- Restricted Candidates: Restricted candidates are not visible on the frontend. Candidates may be restricted by default if you have set that option from your settings page. Only an admin can lift the restriction.
- Shortlisted Candidates: This displays all
candidates that have been marked as shortlisted. You can set this option
for candidates that have high employment prospects.
- Employed Candidates: This is meant to display
candidates who are currently employed through your organization. Please
note that you will need to manually flag a candidate as employed by
editing their profile.
Clicking on any of these links will reveal the candidate list as shown below:
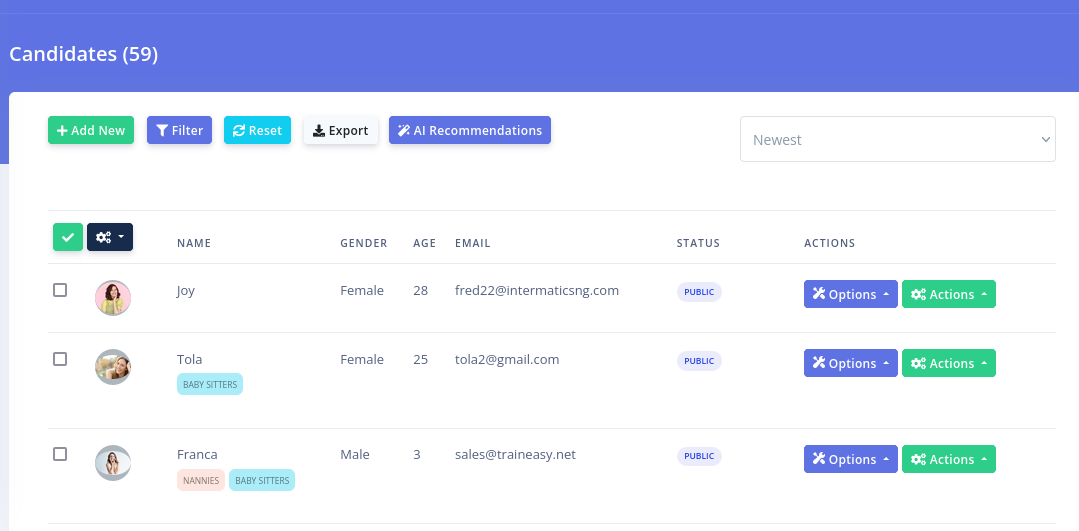
The buttons at the top of the list enable you to Add a
new candidate, Filter the list, Reset the list, and Export the current
list to a CSV file respectively.
The list displays the candidate's name (and display
name if different from the regular name), gender, age, email, and
visibility. Visibility refers to whether a candidate is Public or Private as
explained above.
The 'Options' button allows you to perform various actions on each candidate
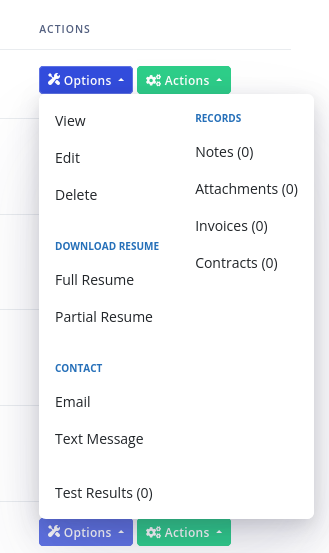
The View, Edit, and Delete options, allow you to
display, modify, or completely remove a candidate respectively. The
'Download Resume' section allows you to download a PDF document
containing the candidate's details. Resumes can be 'Full' or 'Partial'. A
partial resume will only contain the candidate's basic information but
exclude sensitive details such as Name, Email, and Telephone. Also, partial resumes will not contain custom candidate profile sections that have
the 'Visible to public and in partial profiles' option set to 'No' (see
the Candidate Profile Form help page for more information).
The 'Test Results' option enables you to view the results of all the Tests that a candidate has taken.
The 'Records' section of the dropdown enables you to view various records for a candidate
- Invoices: These are all the Invoices associated
with this candidate. This enables you to view the payment history of each
candidate.
- Notes: Notes can be created for each candidate. A
note is an internal
log containing any information you wish to
retain about a candidate.
Typically, you should log every interaction your
staff has with a candidate such as Phone calls, emails, etc.
- Attachments: You can attach files to each
candidate. This is important for storing information like medical
records, guarantor forms, etc.
Importing Candidates
If you already have a list of candidates, you can create accounts easily for all of them by using the candidate import feature
The candidate import feature works identically to the employer import feature. Please refer to the '
Importing Employers' page for more information